![How to setup Wordpress Blog with Bluehost Hosting [2018]](http://wp.5balloons.info/wp-content/uploads/2018/03/12385169_6034455370554_6281738_n.png.jpg)

Although there are tons of article already available on Internet on How to Setup Wordpress Blog with Bluehost Hosting.
I recently migrated my blog from siteground to Bluehost and realised that the content available on other sites is a bit outdated and the UI of Bluehost cPanel is changed from the time the articles where published.
Thus I decided to document my experience of setting up a Wordpress Blog on Bluehost hosting.
Bluehost has long been recommended by WordPress and hosts more than 2 million WordPress sites. That makes getting started with WordPress on Bluehost simple as can be.
With Bluehost cPanel which is now highly optimized for Wordpress. It is fairly easy to setup a wordpress blog and it also gives you a free primary domain to tweak around with your blog.
This article gives you a detailed step by step tutorial on setting up a new bluehost account and setting up your first wordpress blog.
Step 1 : Set up a Bluehost Account
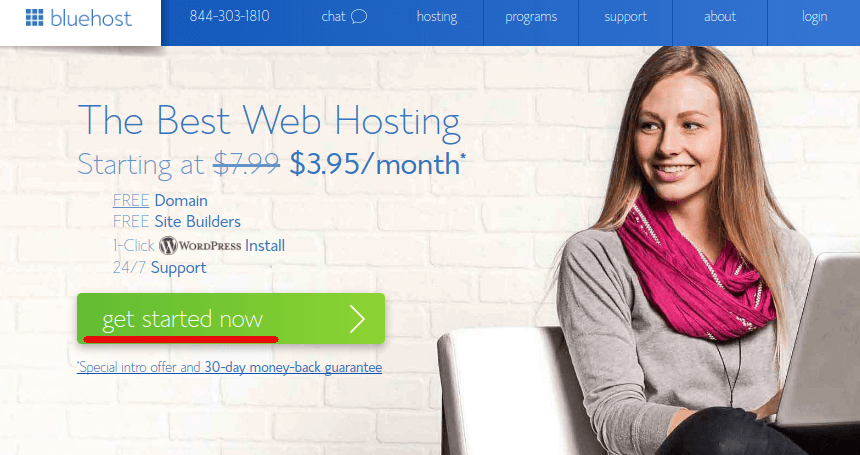
Go to the Bluehost Website and click on Get Started Now.
In the next step, Bluehost will present you with the different Plan options that you can choose from according to your needs.
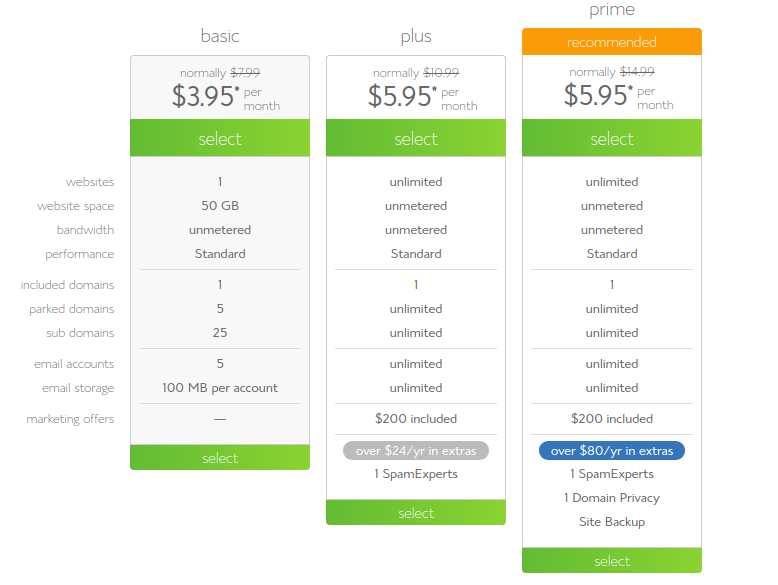
If you are just starting out first time with the blogging or if your are just in experimenting stage, I will suggest to choose the Basic plan.
If you know what you are doing and you have a long term plan with setting up a Blog then I would highly recommend to go for the Plus plan as it gives you the option of having unlimited websites under a single account.
Click on the plan which best suits your needs.
Next, Bluehost will give you an option of Signing Up a new domain name or providing the domain name if you already have one.
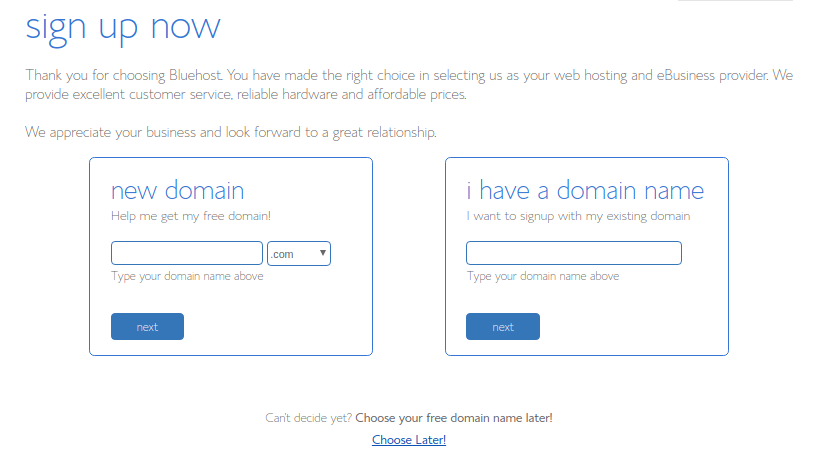
With a new account signup, bluehost gives you an opportunity to sign up a free domain name. Go ahead and signup for a new domain name if you are in need. You can also provide the domain name if you already have one.
You can also skip this step if you are not sure what domain name you want to go ahead with. Click on Choose Later
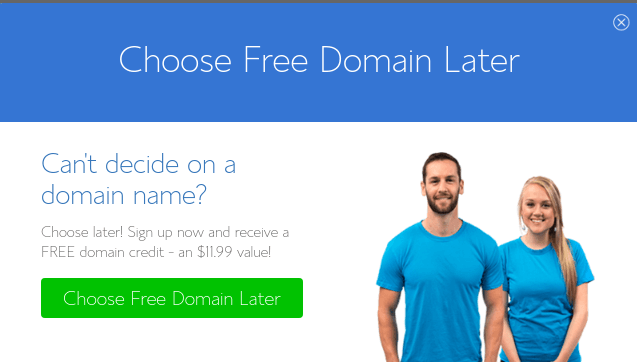
On the popup window click on Choose Free Domain Later if you want to skip this step.
Step 2 : Creating the Bluehost Account
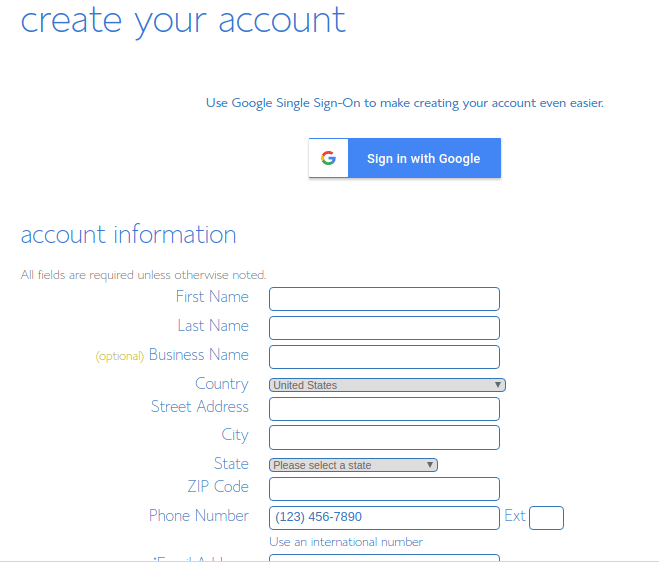
In this step, we will provide the necessary information which is required by bluehost to setup a hosting account for us. Also we will also complete the payment procedure.
Once you have entered the domain information you can go ahead and provide the personal information.
Then, you’ll choose which hosting package you want. Normal, shared hosting is priced at 12, 24 and 36-month terms. To help save you money, the longer term you purchase, the lower the monthly rate will be. For example, by choosing a 36-month hosting term, you can get the great introductory rate of $4.95/month for plus plan.
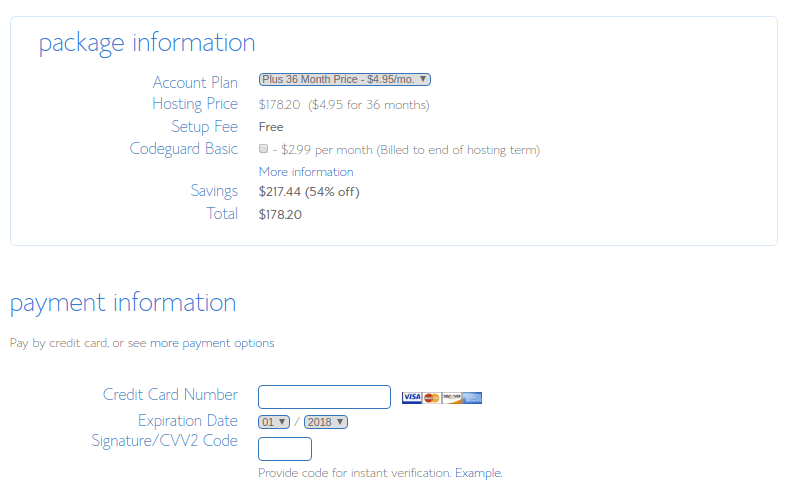
Choose the best package as per your desired needs. Provide the payment information. Go through and accept the terms of Services and click Submit.
Your account is created after the payment is successful.
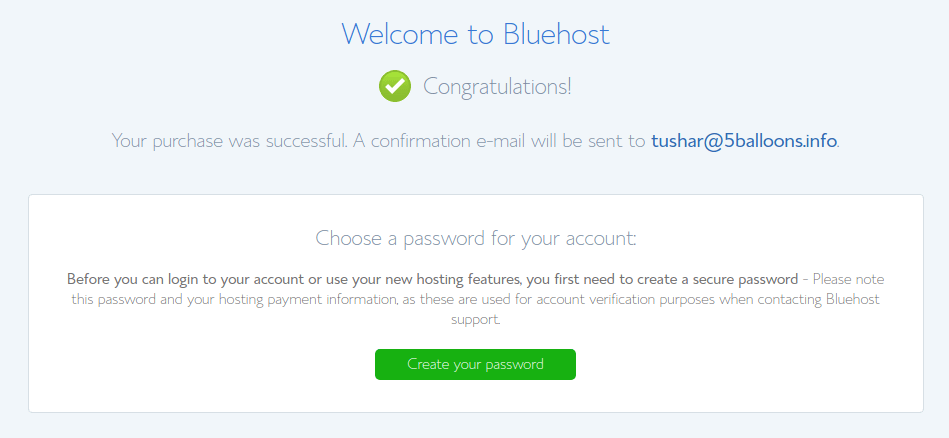
Go ahead and click on Create your password button to setup a new password for your account.
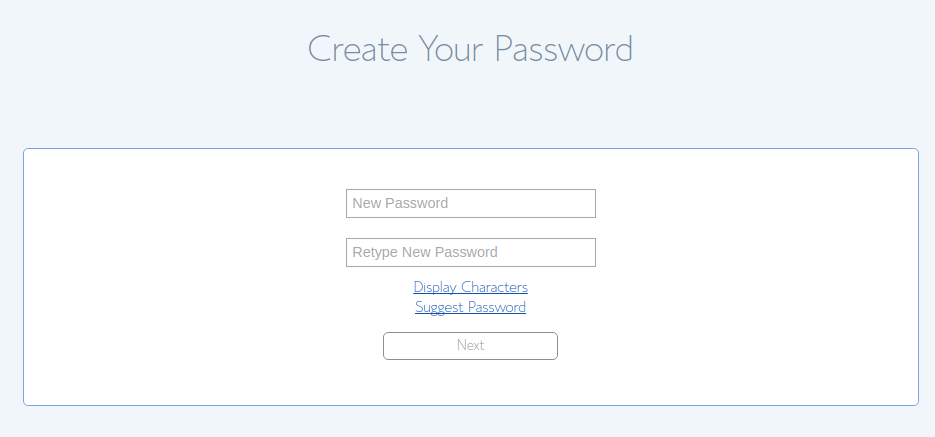
You can use the Password Generator to create a strong and secure password, or create one yourself. It is required to have both capital and lowercase letters, a number, and a special character (?!#, etc.) in order to have a strong enough password to protect your account.
Now that you are all signed up and are able to log into your account, you can get started installing WordPress!
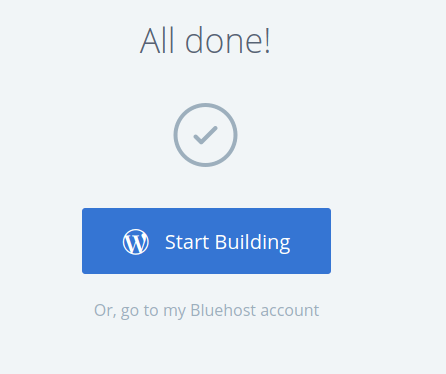
Step 3 : Setting up the Wordpress Website
Bluehost has completely changed their cPanel and it's now more optimized for Wordpress. Bluehost automatically sets up a Wordpress Blog for you with a default domain name. Once you log into your Bluehost account for the first time, bluehost will start setting up a Wordpress website for you and will take some time to do the setup.
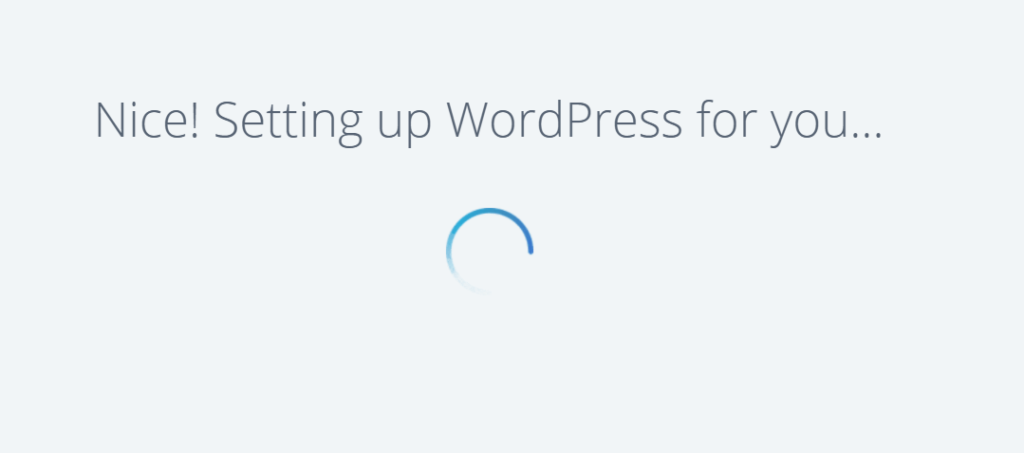
If you are stuck on this screen for a long time then you can close the window and again login to your Bluehost account. You should see a revamped Bluehost cPanel which looks like below.
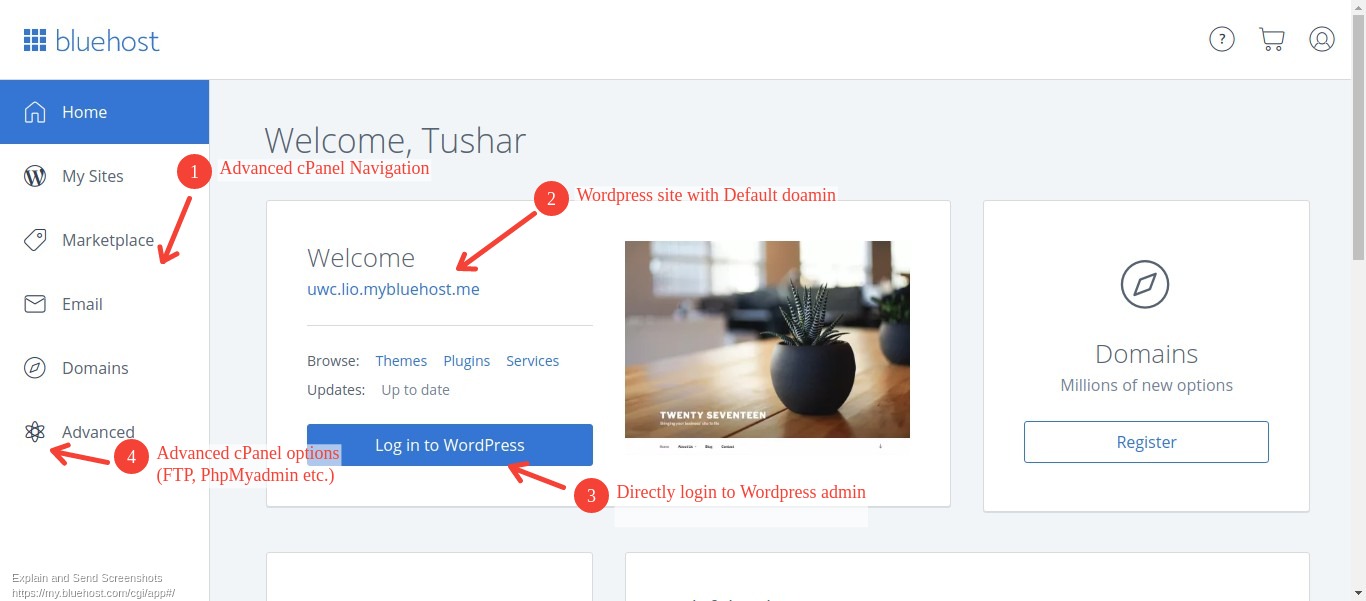
As you can see Bluehost has now a revamped cPanel.
- An advanced Navigation menu, My Sites is oriented for only Wordpress websites.
- A default website is created for you with a default subdomain under bluehost.me.
- You can login to Wordpress admin with a single button click.
- Advanced options of cPanel like FTP, PhpMyadmin, SSL goes under Advanced Menu option.
That's all is required to setup Wordpress Blog with Bluehost Hosting. Now there are tons of things that you can do next in order to get starting to create a website or blog on wordpress. Like Installing Plugins, themes etc.
There are also advanced options that you might want to perform once you are ready with your wordpress site like Pointing a custom domain name to the wordpress site, or setting up free SSL on the wordpress site. I will cover those details in a separate blog post.
Please comment if you liked the tutorial or if you have any difficulty in following the steps, I will try to help out as much as possible.
Cheers !