TailwindCSS is a popular utility first CSS framework. In this article, we will go over how to install TailwindCSS on Laravel which is a PHP Framework.
1. Create a Laravel Project and Dependencies Installed
Before heading into the TailwindCSS Installation make sure that you have the Laravel setup ready along with the dependencies installed.
In this article I am using Laravel version 9 for the demonstration.
Make sure you have node and npm installed in your machine. You can confirm this by running the following commands in your terminal
npm -v
node -v
Follow this guide to
Install Laravel Project if not already installed.
Follow this guide to
Install Node and NPM if not already installed.
2. Install Tailwind CSS
Run the following command to install tailwindCSS and its peer dependencies in your laravel project.
npm install -D tailwindcss postcss autoprefixer
Once the dependencies are installed, Run the following command to to generate
tailwind.config.js file
npx tailwindcss init

This will generate a file named
tailwind.config.js at the project root.
3. Add Tailwind to Laravel Mix Configuration
A fresh Laravel project comes with
Laravel Mix installed. Laravel Mix is a wrapper around webpack, that simplifies the complexity of webpack for the most of the use cases.
Laravel Mix has its own configuration file named
webpack.mix.js located at the project root, Mix uses this file to build our Javascript and CSS assets.
In your
webpack.mix.js file, add tailwindcss as a PostCSS plugin.
mix.js('resources/js/app.js', 'public/js')
    .postCss('resources/css/app.css', 'public/css', [
        require("tailwindcss"),
    ]);
4. Add Content Path to Tailwind Config
Tailwind only generates those styles in the output CSS file which we have used in our view files. Thus Tailwind needs to know which all files to look before generating the output CSS file.
Open your
tailwind.config.js file and modify the content array to include all the below paths.
/** @type {import('tailwindcss').Config} */
module.exports = {
  content: [
    "./resources/**/*.blade.php",
    "./resources/**/*.js",
    "./resources/**/*.vue",
  ],
  theme: {
    extend: {},
  },
  plugins: [],
}
5. Add the Tailwind directives to your CSS
Open the
app.css file located at
resources > css directory and add the
@tailwinddirectives for each of Tailwind’s layers.
@tailwind base;
@tailwind components;
@tailwind utilities;
6. Run the NPM Build Process
Since we have the configuration ready, we can now run the build process so that Mix generates the output CSS file with tailwind classes in it.
Run the following command to build the changes
npm run dev
If you are looking to make changes continuously as you are making changes, you can run the watch command
npm run watch
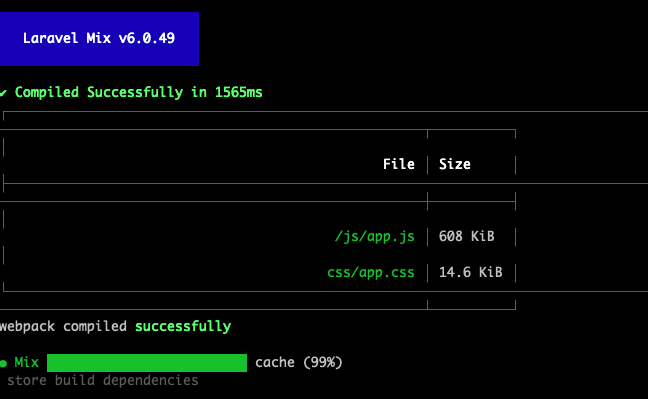
This command should generate
app.css and
app.js file in the public folder.
7. Use Tailwind in your project
We can now use the
app.css file generated in our blade layout files.
I created a new file named
app.blade.php in my
resources > views directory with the following content.
<!doctype html>
<html>
<head>
  <meta charset="utf-8">
  <meta name="viewport" content="width=device-width, initial-scale=1.0">
  <link href="{{ asset('css/app.css') }}" rel="stylesheet">
</head>
<body>
  <h1 class="text-3xl text-purple-600 font-bold underline text-center m-2">
    Welcome to TailwindCSS
  </h1>
</body>
</html>
You should get the following output which will make sure that the TailwindCSS is working
 Welcome to the world of TailWindCSS