This post will guide you how you on how you can run the automation test scripts with Selenium Web Driver and Junit. I am using Eclipse as my IDE and Maven as my build tool.
This post assumes that you know the the basics about Maven, Junit and Selenium Web Driver.
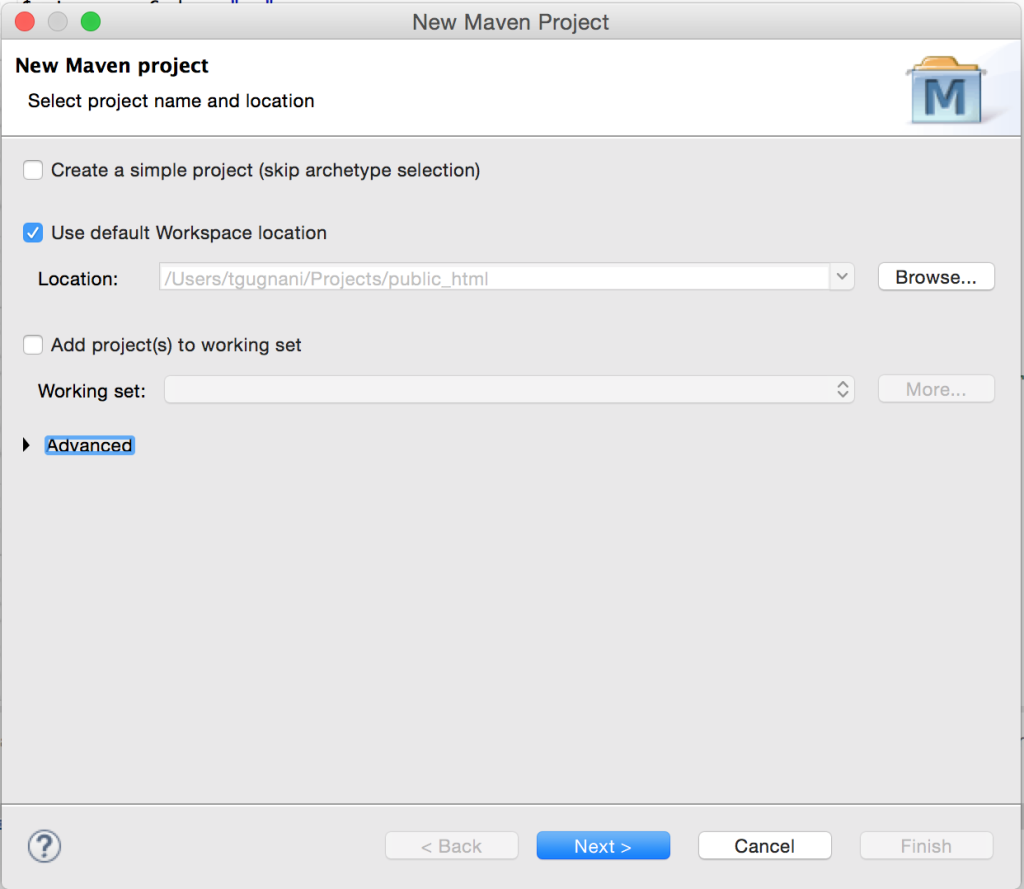
1. Start of by creating a new Maven project in Eclipse. We are using maven because its makes us easy for us to download the dependencies and run the tests.
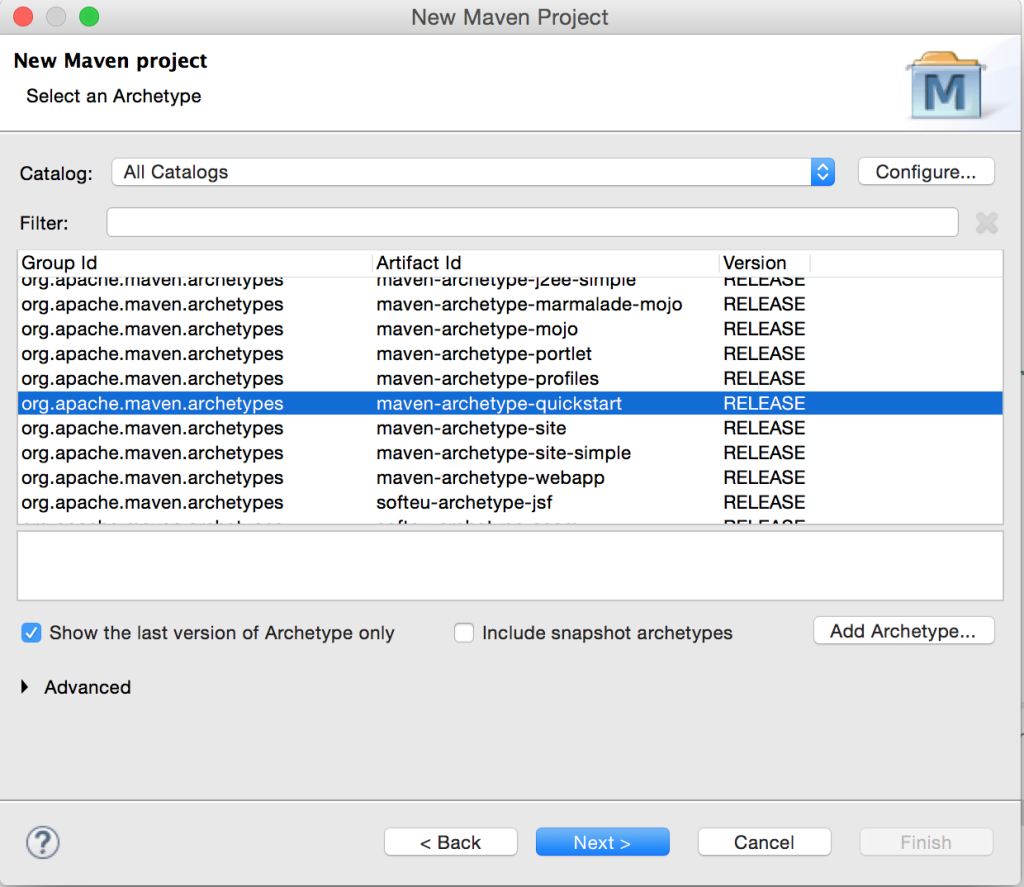
2. Now we have to select the Maven archtype. A maven archtype provides us with the basic file structure for out project. We will select maven-archetype-quickstart, since it will provides us with the basic structure for our Selenium project.
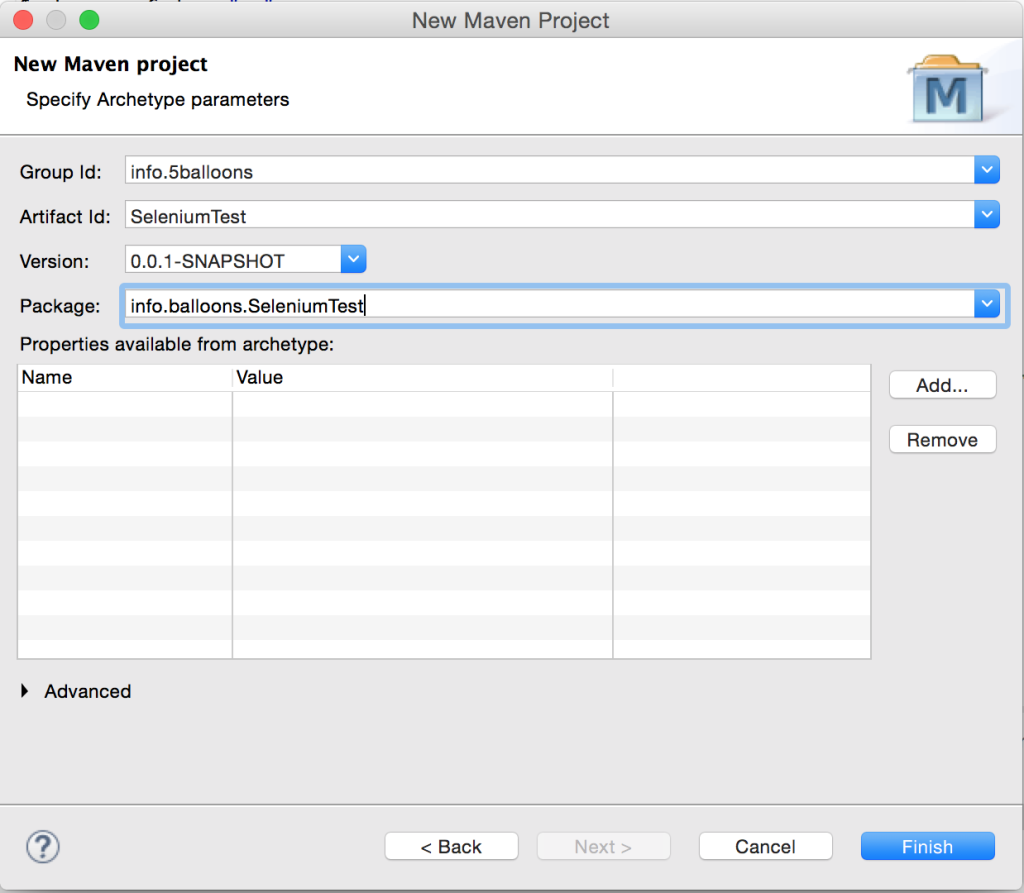
3. Provide a valid Group id, Artifact id and package name for your project.
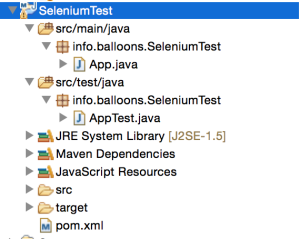
Once you click finish, your project folder structure should look like this.
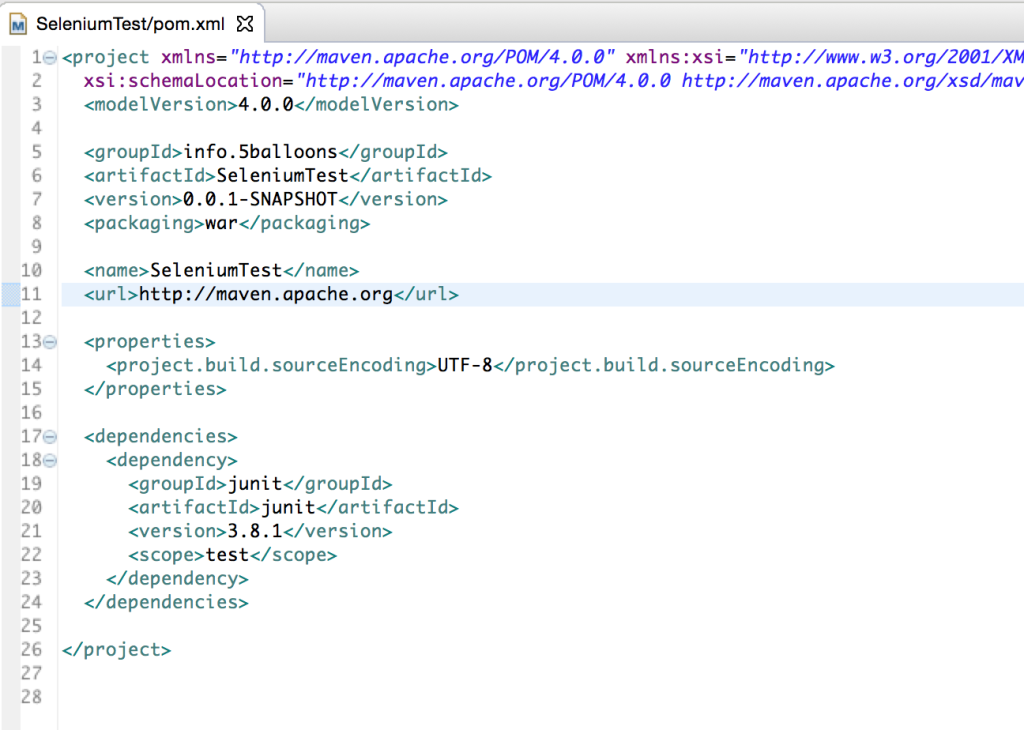
4. Every Maven project comes with with a pom.xml files where you can define your build configurations, the current file should have the junit dependency in it with the latest version available.
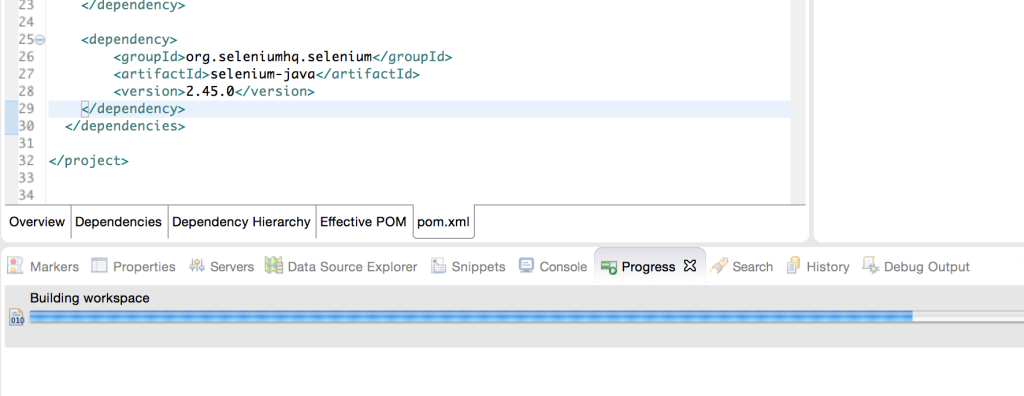
5. You need to add the selenium-java dependency in the pom.xml file for the selenium script to work.
6. You can start putting your selenium test code in src/test/java/AppTest.java file. Here is the sample code that test the title of this blog
package info.balloons.SeleniumTest;

import java.util.concurrent.TimeUnit;

import org.junit.AfterClass;
import org.junit.Assert;
import org.junit.BeforeClass;
import org.junit.Test;
import org.openqa.selenium.By;
import org.openqa.selenium.WebElement;
import org.openqa.selenium.firefox.FirefoxDriver;

public class AppTest {
private static FirefoxDriver driver;
WebElement element;

@BeforeClass
public static void openBrowser(){
    driver = new FirefoxDriver();
    driver.manage().timeouts().implicitlyWait(10, TimeUnit.SECONDS);
}

@Test
public void testWebsite(){
    System.out.println("Starting test " + new Object(){}.getClass().getEnclosingMethod().getName());
    driver.get("https://5balloons.info");
    Assert.assertEquals("5 Balloons | Jack of many web trades", driver.getTitle());
    System.out.println("Ending test " + new Object(){}.getClass().getEnclosingMethod().getName());
}

@AfterClass
public static void closeBrowser(){
    driver.quit();
}
}
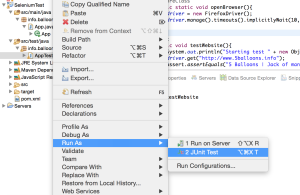
7. Right click on the AppTest.java and choose Run As Junit Test.
You should see the test running through your Firefox browser and the output summary of Junit test cases should be there in console.
 2. Now we have to select the Maven archtype. A maven archtype provides us with the basic file structure for out project. We will select maven-archetype-quickstart, since it will provides us with the basic structure for our Selenium project.
 3. Provide a valid Group id, Artifact id and package name for your project.
 Once you click finish, your project folder structure should look like this.
 4. Every Maven project comes with with a pom.xml files where you can define your build configurations, the current file should have the junit dependency in it with the latest version available.
 5. You need to add the selenium-java dependency in the pom.xml file for the selenium script to work.
 6. You can start putting your selenium test code in src/test/java/AppTest.java file. Here is the sample code that test the title of this blog
 You should see the test running through your Firefox browser and the output summary of Junit test cases should be there in console.