Why WordPress?
I have been blogging for more than six years and have tried different publishing platforms; none of them comes even close to Wordpress. Here are few the points that make Wordpress stand apart from other publishing softwares.
Why SiteGround?
I have tried variety of hosting providers that includes BlueHost, GoDaddy, HostGator, and others.
Although each one of the providers has its pros and cons. I have found SiteGround to be the best among the others, particularly because of how easy it makes to host the new websites.
Here are few the points that make SiteGround stand apart from other hosting providers.
[caption id="attachment_4328" align="aligncenter" width="386"]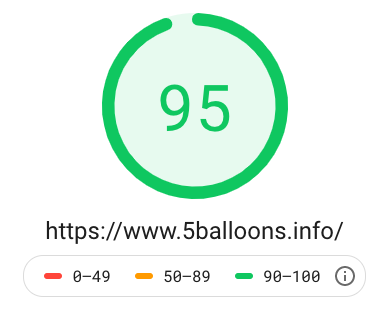 5Balloons Google PageSpeed Result[/caption]
5Balloons Google PageSpeed Result[/caption]
What You'll Need
Here are the things that you'll need to get started with hosting your first Wordpress blog / website on SiteGroundOverview
Wether you are deciding to start a tech blog, a travel blog, a recipe blog, a fitness blog, a hobby blog, or a personal or professional blog. This post will help you with the very first step in your blogging journey i.e. Setting up and Getting ready with your online Wordpress website. Here is the blog overviewSetting Up SiteGround Account
The below steps will take you through setting up your new SiteGround Account.# Step 1 : Choose the Right Hosting Plan
First step is simple, Head Over to SiteGround. (Get Special Referral Discount with this customised link) On the Home Page, you will see different hosting options.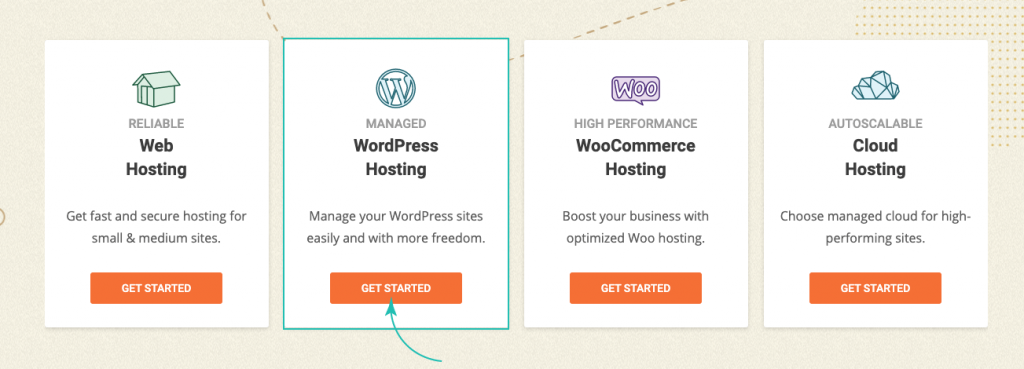 Since we are going to host a Wordpress website, Choose the Managed Wordpress Hosting Option.
Once you choose the hosting type, you will be redirected to the next page, Wherein SiteGround wants to know the type of Plan you want to go with.
Since we are going to host a Wordpress website, Choose the Managed Wordpress Hosting Option.
Once you choose the hosting type, you will be redirected to the next page, Wherein SiteGround wants to know the type of Plan you want to go with.
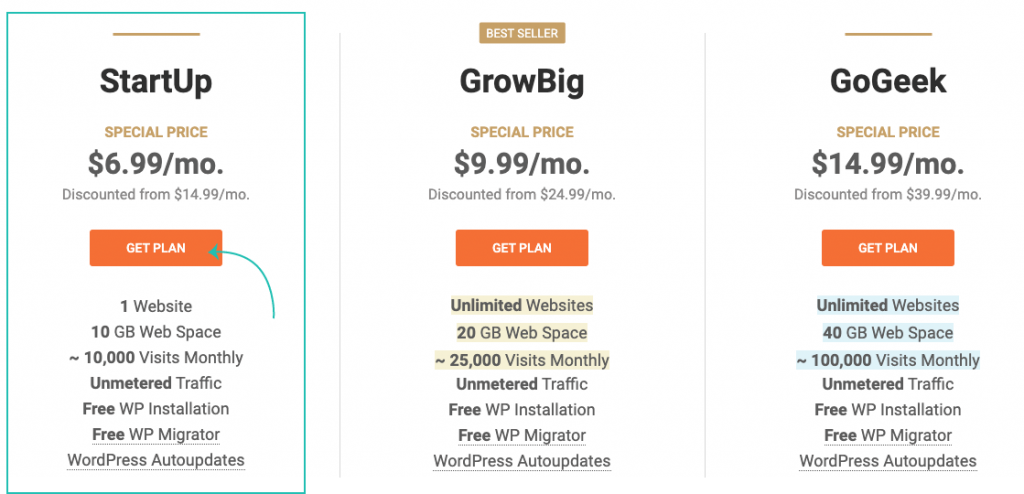 With each plan you get a set of technical limitations of the resources that you can use on the hosting server. If you are just starting out and not sure what plan to go with.
I would suggest to choose the StartUp plan since it provides you with sufficient resources, You can always change the plan later once your traffic grows.
With each plan you get a set of technical limitations of the resources that you can use on the hosting server. If you are just starting out and not sure what plan to go with.
I would suggest to choose the StartUp plan since it provides you with sufficient resources, You can always change the plan later once your traffic grows.
# Step 2 : Enter your Domain Name
In the next step, we need to provide the domain name through which you'll be accessing your new website. If you haven't have this registered. I recommend to get this registered from NameCheap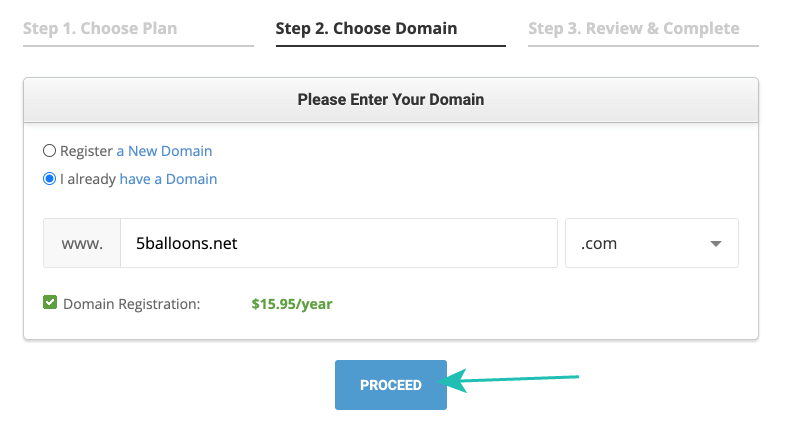
# Step 3 : Provide your Account and Payment Information
In the next step, you need to register yourself with a new account on the SiteGround.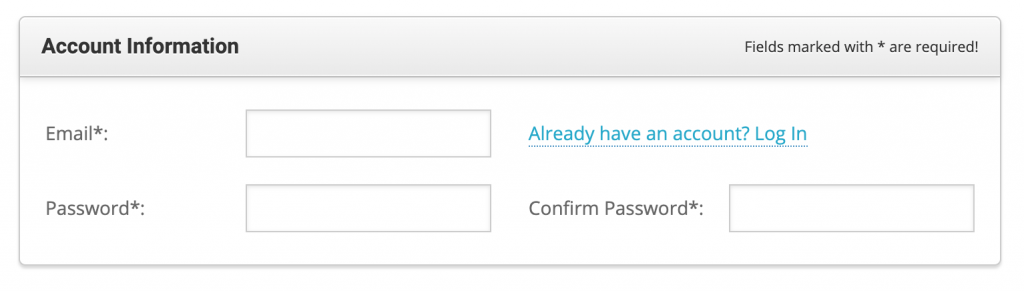 Provide a valid Email address and chose a valid Password.
Next section, You need to provide the personal details (Name, Address etc.)
Provide a valid Email address and chose a valid Password.
Next section, You need to provide the personal details (Name, Address etc.)
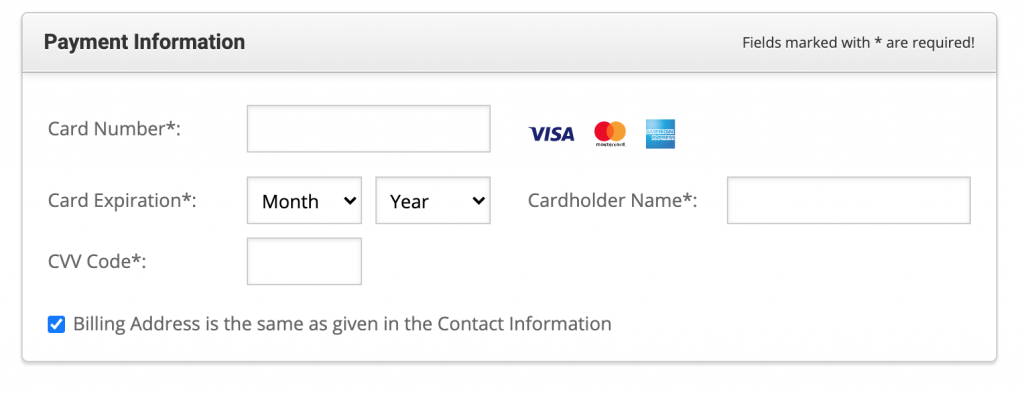
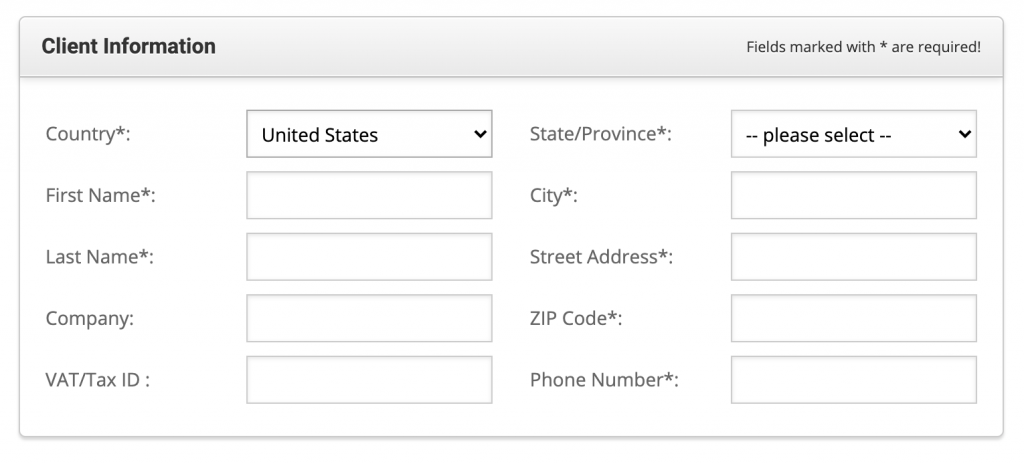 Fill out all the required details and move on to the next section wherein you need to provide your Payment Information.
# Step 4 : Choose DataCenter and Billing Period
Once you are done with providing Account Information, Client Information and Payment Information. In the next step you have an option to choose the datacenter and also the period for which you are looking for the hosting service. Data Center: This is the physical location of the server where your website will be hosted. Choose the data center where you expect your maximum traffic to be from.
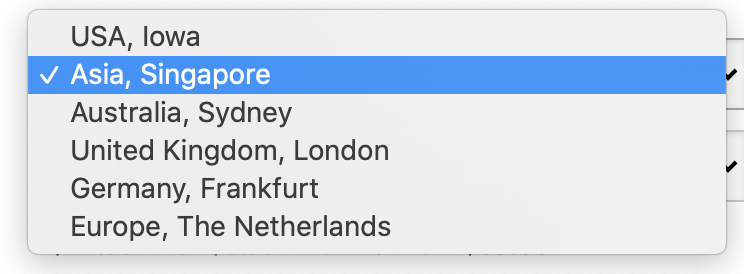 Period: You can choose how long you want the hosting for. SiteGround provides best offer if you choose the Billing Period to be of 12 Months. You can renew the hosting after 12 months.
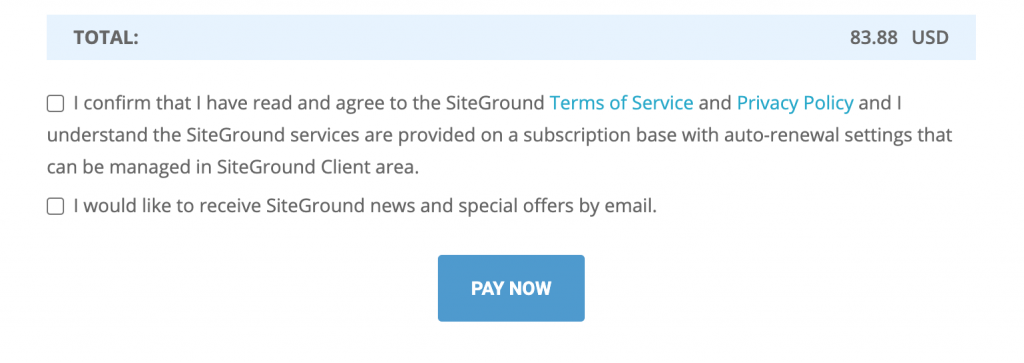 Next Up, Confirm the Total Bill Amount, Click the Checkbox to confirm to SiteGround's Terms and Conditions and Click Pay Now.
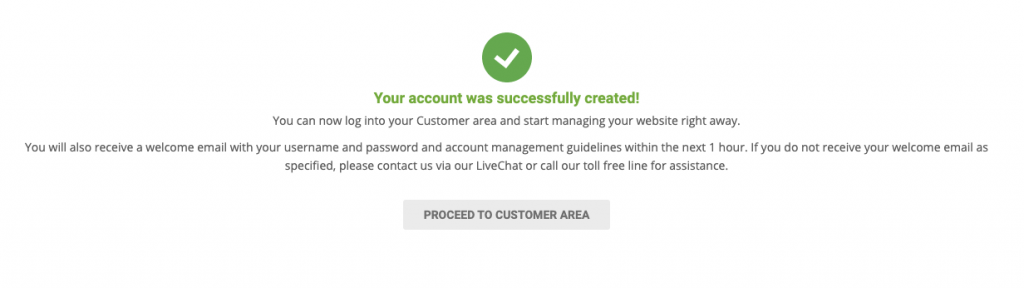 Once the payment is processed you should see the successful page.
Setting Up Wordpress WebSite
You are now Halfway there ! The below steps will take you through setting up your first Wordpress Website / Blog.# Step 5 : Installing Wordpress
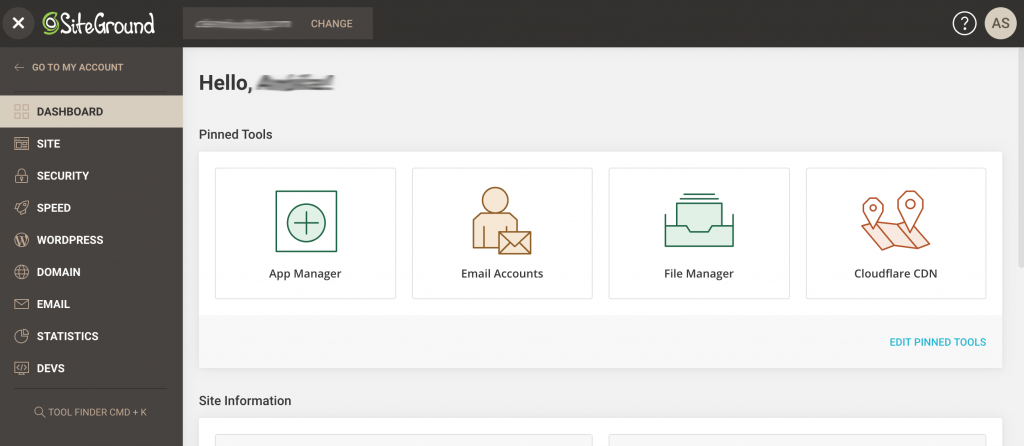
Click on the button Proceed to Customer Area on the successful page and you will be redirected to the Login page. Once you Login to the SiteGround with your new credentials. You will be redirected to the dashboard page my.siteground.com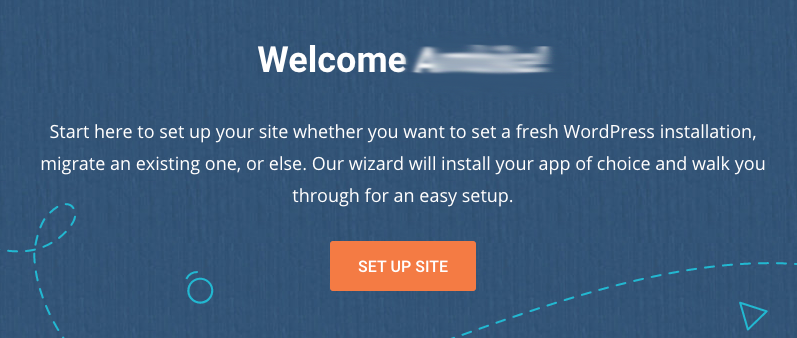 Click on Set Up Site and you will be redirected to the page wherein you can setup your new Wordpress Website.
 Next Up, You'll be presented with two options Start New Website or Migrate Website. In this article we will be covering on setting up a new Site.
Choose the option of Select New Website.
This will give a list of Application to choose from that you can install on the new Website.
Next Up, You'll be presented with two options Start New Website or Migrate Website. In this article we will be covering on setting up a new Site.
Choose the option of Select New Website.
This will give a list of Application to choose from that you can install on the new Website.
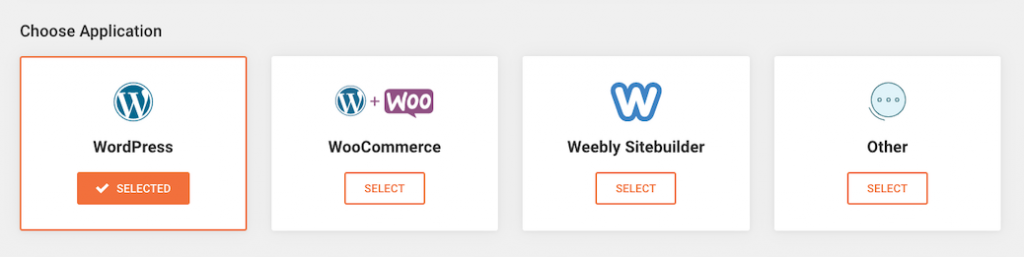 Choose the first option i.e. WordPress
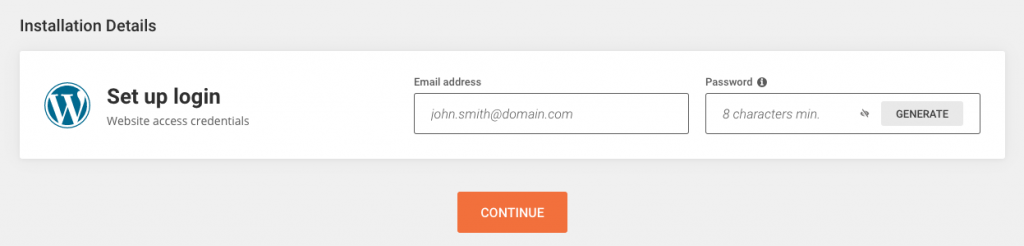 All you need to do is provide the Email Address and the password for your new Wordpress website (This will be used to login into the Administration section of your new Wordpress website)
Click on Continue.
The last step asks you if you want to add SG Site Scanner to the Website (You can skip this)
All you need to do is provide the Email Address and the password for your new Wordpress website (This will be used to login into the Administration section of your new Wordpress website)
Click on Continue.
The last step asks you if you want to add SG Site Scanner to the Website (You can skip this)
 We are almost there. Click on Finish and now SiteGround will start installing Wordpress on the server.
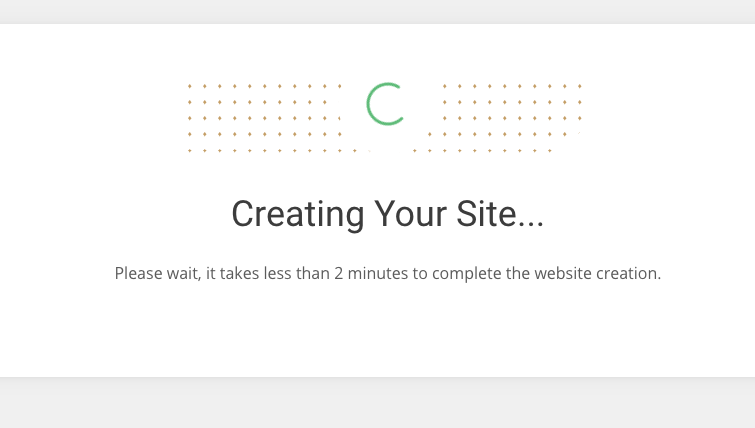
 Yay ! We have Wordpress installed on the new SiteGround Server.
So Are we there yet ? Not Yet !
Yay ! We have Wordpress installed on the new SiteGround Server.
So Are we there yet ? Not Yet !
# Step 6 : Point Your Domain to New NameServers
There are couple of more steps that needs to be done before we can call this whole process completed. We need to point the domain name to the NameServers provided by SiteGround.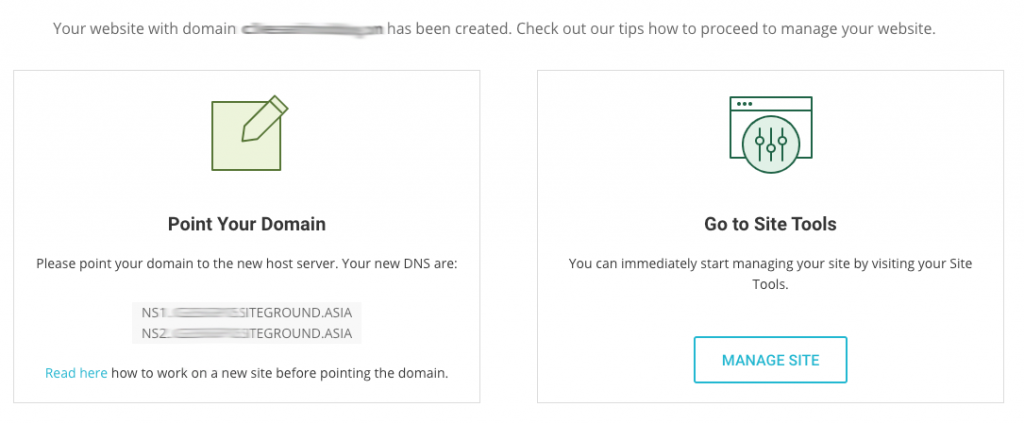 You need to Login into your Domain Service provider ( Website from where you have registered the domain) and go into it's DNS Settings and point it to the two NameServers provided by SiteGround.
Here is the example screenshot from NameCheap website Custom DNS Settings.
You need to Login into your Domain Service provider ( Website from where you have registered the domain) and go into it's DNS Settings and point it to the two NameServers provided by SiteGround.
Here is the example screenshot from NameCheap website Custom DNS Settings.
 Save the changes.
Note : DNS Settings Propagation takes time. Sometimes the changes can work for you almost immediately and might also take upto 24H before you can see the changes.
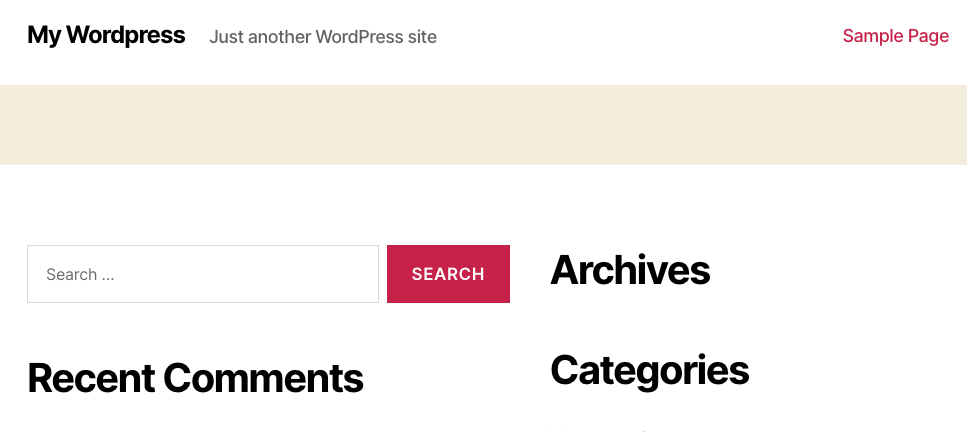
You should now be able to access your new WordPress website with the custom domain name.
Save the changes.
Note : DNS Settings Propagation takes time. Sometimes the changes can work for you almost immediately and might also take upto 24H before you can see the changes.
You should now be able to access your new WordPress website with the custom domain name.
Using Wordpress
We now have Wordpress software installed on our server, in the next few steps, Let's see how you can get the hold of some commonly used features of Wordpress.# Step 7 : Signing into Wordpress Admin Section
Wordpress is two faced application. One is for the Admin (one is the owner of the website) and another is for the user ( readers who will visit your website) Wordpress Admin section requires you to authenticate yourself with the username and password you provided during the setup process. Go over to http://yourdomain.com/wp-admin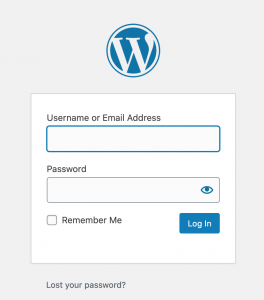 On your first login you'll be presented with SiteGround Wordpress Starter.
SiteGround Wordpress Starter is an interactive process for new Wordpress users to get used to the Wordpress features in an easy way that includes selecting design, functionality and marketing plugins so that you can start working on your website right away !
On your first login you'll be presented with SiteGround Wordpress Starter.
SiteGround Wordpress Starter is an interactive process for new Wordpress users to get used to the Wordpress features in an easy way that includes selecting design, functionality and marketing plugins so that you can start working on your website right away !
# Step 8 : Changing the Default Theme
Wordpress theme defines the look and feel of your website. Depending upon the genre of your blog / website you might want to alter the way your website looks. Changing the theme takes care of this. With SiteGround Wordpress Starter you can easily change the default theme (i.e. Twenty Seventeen). Start with the SiteGround Wordpress starter and the first step gives you the option to change the default theme.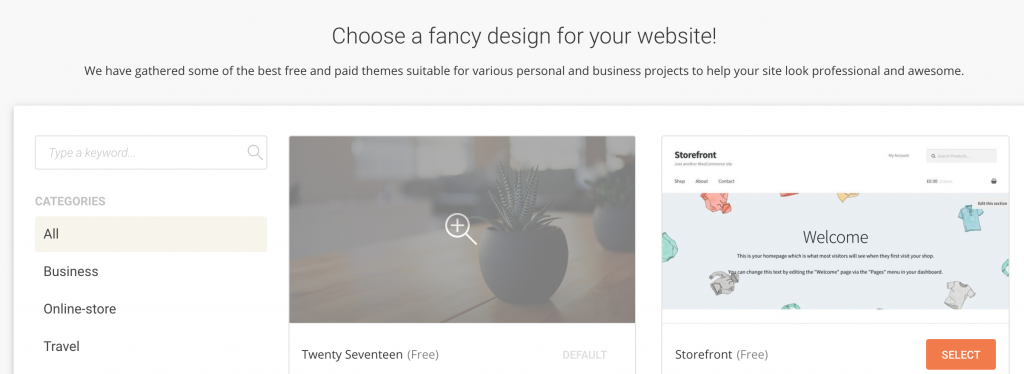 If you are looking to change the theme with the Traditional approach then you can go to the WordPress Admin Dashboard and click do it so by choosing Theme under Appearance menu item.
 Click on the Add New Button and you can find tons of options to select either a Free or Paid Theme.
# Step 9 : Creating your First Post
To write a blog post, Go to your Wordpress Admin Dashboard Click on Posts > Add New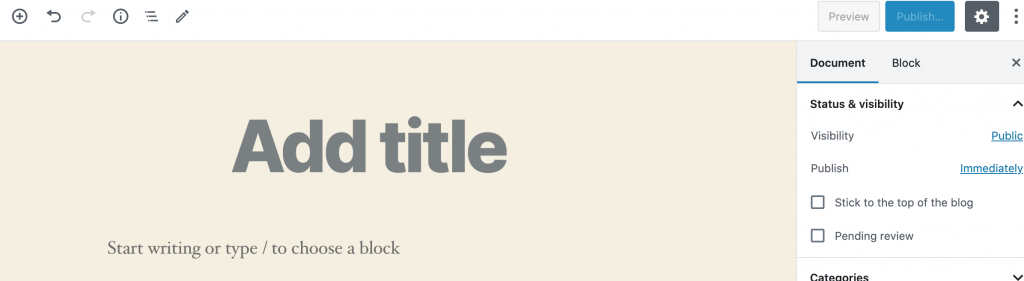 Latest WordPress version uses a block-based editor where each element is a block. Block based layout lets you create beautiful layouts for your posts.
Once you’re done writing, go ahead and click on the Publish button on the top-right corner of the screen to make your blog post publicly available.
Latest WordPress version uses a block-based editor where each element is a block. Block based layout lets you create beautiful layouts for your posts.
Once you’re done writing, go ahead and click on the Publish button on the top-right corner of the screen to make your blog post publicly available.
Using SiteGround Site Tools
Now since we have worked a bit around the Wordpress site, Let's understand few of the SiteGround Site Tools to uncover what we can achieve with those. Login to your SiteGround Account and Navigate to the Websites section from top navigation menu. You will find your website listed there along with an option to go to Site Tools SiteGround, has removed cPanel (A popular tool to help website hosting management), replacing the control panel with their own in-house built alternative.
New SiteGround Site Tools has a very clean and easy to navigate interface and majority of operations that cPanel provided but in more intuitive manner.
SiteGround, has removed cPanel (A popular tool to help website hosting management), replacing the control panel with their own in-house built alternative.
New SiteGround Site Tools has a very clean and easy to navigate interface and majority of operations that cPanel provided but in more intuitive manner.
# Step 10 : Securing Website with SSL
Using SSL is crucial for the security of your website. The SSL certificate encrypts all traffic that goes through your website and ensures that sensitive information like login credentials and credit card details remains protected. To Install an SSL certificate on your website. Choose Security > SSL Manager from the left navigation.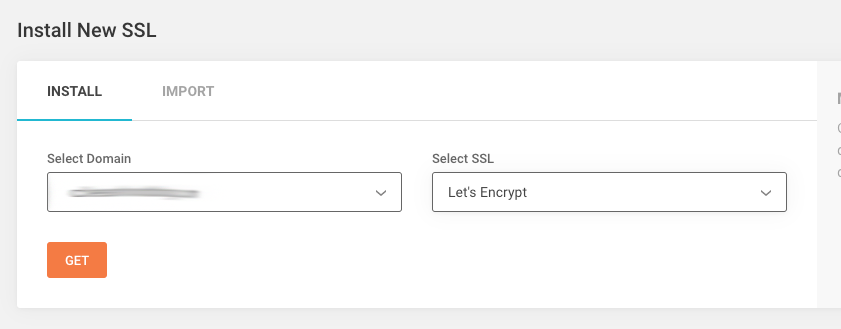 Choose the Let's Encrypt SSL and click on GET Button.
It will take some time for SiteGround to process the request.
Choose the Let's Encrypt SSL and click on GET Button.
It will take some time for SiteGround to process the request.
 We have installed the SSL Certificate on our new website, But we haven't enforced the website to always work over encrypted and secured HTTPS connection.
To enforce HTTPS Navigate to option HTTPS Enforce location inside Security navigation option in SiteGround Site Tools.
We have installed the SSL Certificate on our new website, But we haven't enforced the website to always work over encrypted and secured HTTPS connection.
To enforce HTTPS Navigate to option HTTPS Enforce location inside Security navigation option in SiteGround Site Tools.
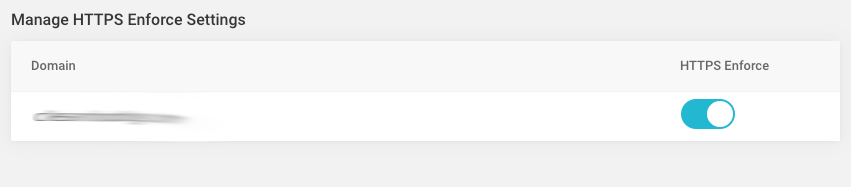 Click on the HTTPS Enforce Toggle to always connect to the website with secured connection.
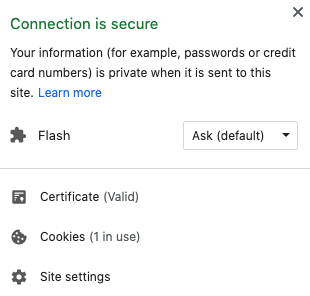
Now, If you access the blog url in the browser instead of a Not Secure prefix. Browser will show a lock symbol just before the Domain URL which indicates that the website is connected through HTTPS secured connection.
Click on the HTTPS Enforce Toggle to always connect to the website with secured connection.
Now, If you access the blog url in the browser instead of a Not Secure prefix. Browser will show a lock symbol just before the Domain URL which indicates that the website is connected through HTTPS secured connection.
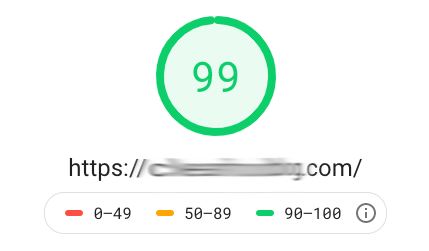
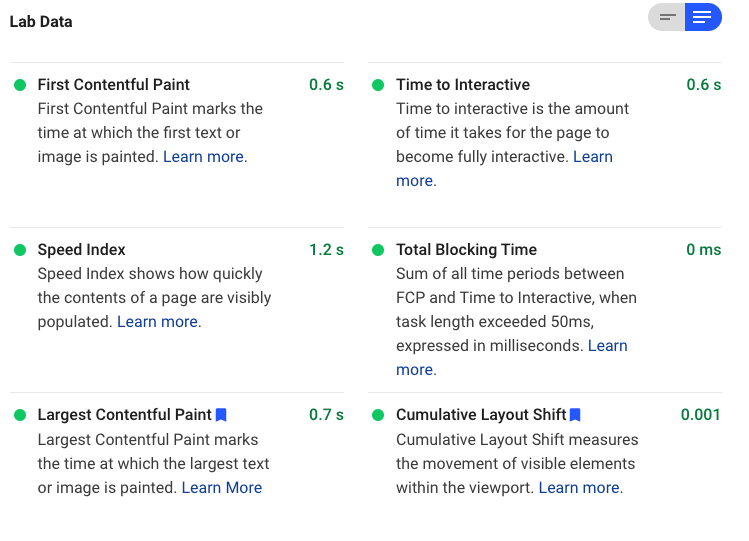
# Step 11 : Managing Website Speed
PageSpeed is one of the most important aspect of website in these days as it effects your SEO as well as user experience. There are a lot of factors that decides the speed at which the page loads. One of the most important factor in SiteSpeed is how fast the server responds to the request and how well it manages the website cache. SiteGround does exceedingly well on both the fronts. SiteGround has a tool named SuperCacher, which is located at Speed > Caching. SuperCacher is enabled by default for your site and works amazingly well in increasing the speed of your website by caching the frequently loaded assets. NGINX Direct Delivery level of caching is enabled by default.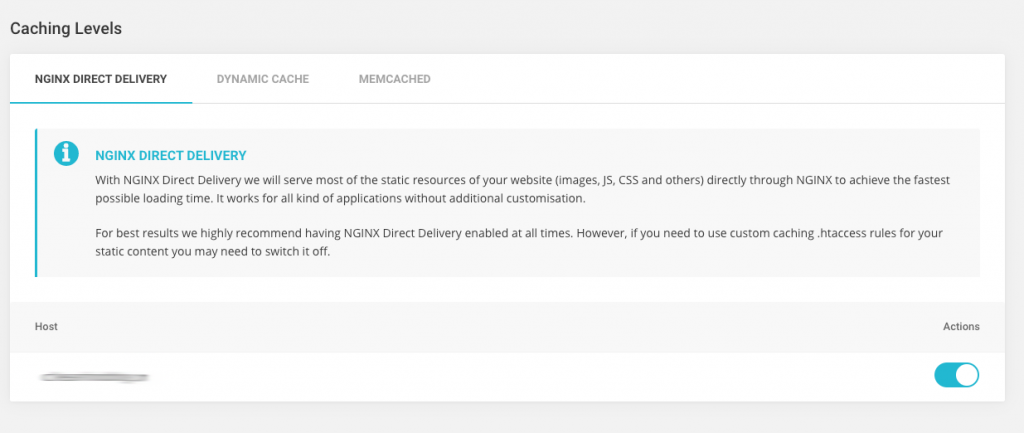 Here are the page speed test results for the blog that I just setup.
That's all about Starting your First Wordpress Blog. Once you start working on your blog and become comfortable with Wordpress. You might want to setup your blog on localhost to make some customisations. Here is a detailed tutorial I have written to Migrate your existing hosted Wordpress site to Localhost. If you liked the article or If you think I missed something that should be added please comment below.