
This example will show you how to build an run an basic Spring Boot Application. Spring Boot promotes convention over configuration and it is a great opinionated view towards starting an application with Spring Framework.
Following Technologies are used in building the Spring Boot Hello World Application.
- Spring Boot 2.0.0.BUILD-SNAPSHOT
- Spring 5.0.0.BUILD-SNAPSHOT
- Maven v 4.0
- JDK 1.8
- Spring Tool Suite.
Although I have used Spring Tool Suite (IDE) for creating the Application, you can comfortably choose the IDE of your choice (Eclipse / IntelliJ) and proceed with the steps given below.
Let's Dive into the steps of creating the Application
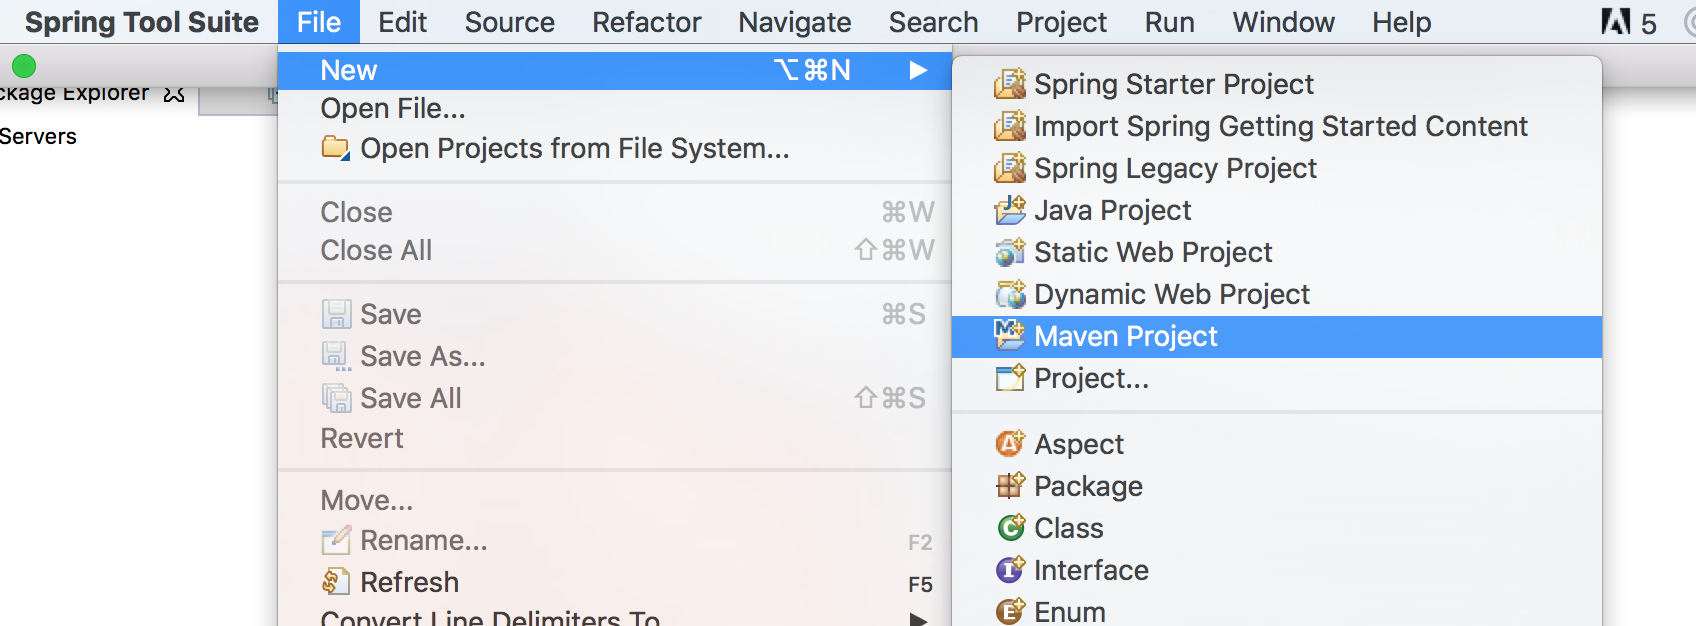
Step 1 : Creating a new Maven Project
In this tutorial we are using Maven for the dependency management. We will start with creating a new Maven Project. Go to your IDE and click File -> New -> Maven Project.
In the next step check 'Create a simple project (skip archetype selection)' because we are looking to create our project from scratch and not looking to choose default archetype selection.
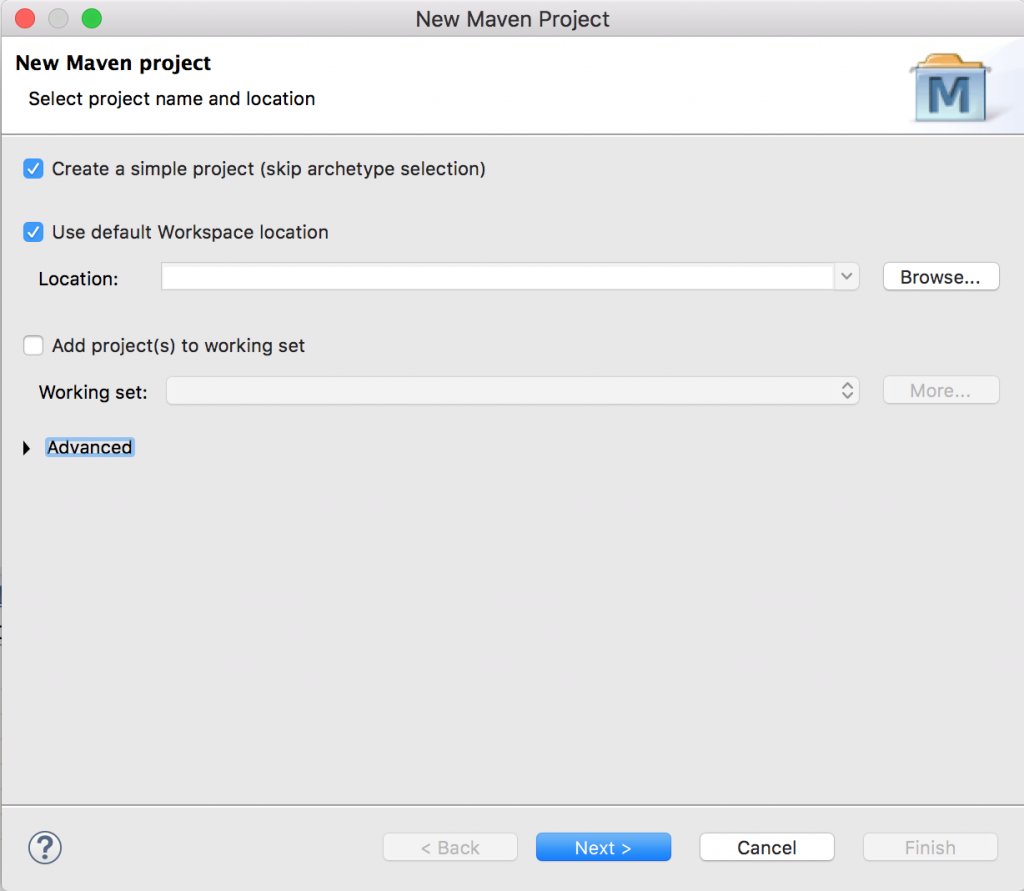
Click Next and you will be asked to enter 'Group Id' and 'Artifact Id', Group Id can be usually your package name and Artifact id can be your project name.
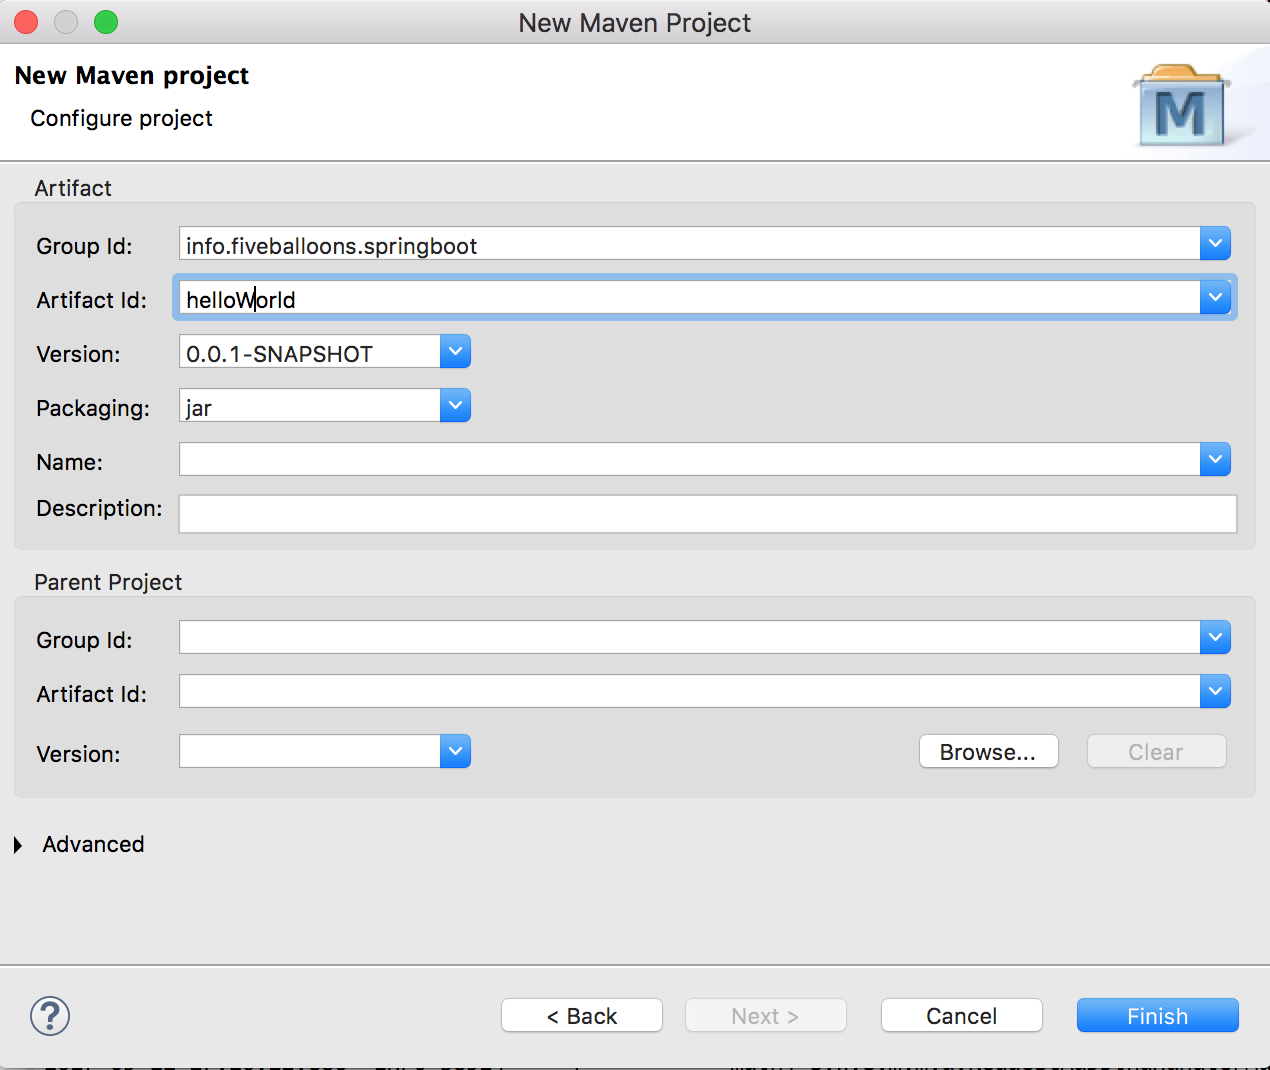
Click Finish and you will have a basic project structure ready with default pom.xml file.
Step 2 : Modify pom.xml file
The default project structure and pom.xml file should look something like the image below.

Modify your pom.xml file, as given below. Since we are using 2.0.0.Build-Snapshot , you need to include the repository details from where the snapshot library will be downloaded.
<project xmlns="http://maven.apache.org/POM/4.0.0" xmlns:xsi="http://www.w3.org/2001/XMLSchema-instance" xsi:schemaLocation="http://maven.apache.org/POM/4.0.0 http://maven.apache.org/xsd/maven-4.0.0.xsd">
  <modelVersion>4.0.0</modelVersion>
  <groupId>info.fiveballoons.springboot</groupId>
  <artifactId>helloworld</artifactId>
  <version>0.0.1-SNAPSHOT</version>

  <parent>
    <groupId>org.springframework.boot</groupId>
    <artifactId>spring-boot-starter-parent</artifactId>
    <version>2.0.0.BUILD-SNAPSHOT</version>
</parent>
<dependencies>
    <dependency>
        <groupId>org.springframework.boot</groupId>
        <artifactId>spring-boot-starter-web</artifactId>
    </dependency>
</dependencies>
<repositories>
    <repository>
        <id>spring-snapshots</id>
        <name>Spring Snapshots</name>
        <url>https://repo.spring.io/libs-snapshot</url>
        <snapshots>
            <enabled>true</enabled>
        </snapshots>
    </repository>
</repositories>
</project>
The parent tag which include the artifact spring-boot-starter-parent tells maven that the project will be a child project of spring boot starter and thus will have all the dependencies of a spring boot project.
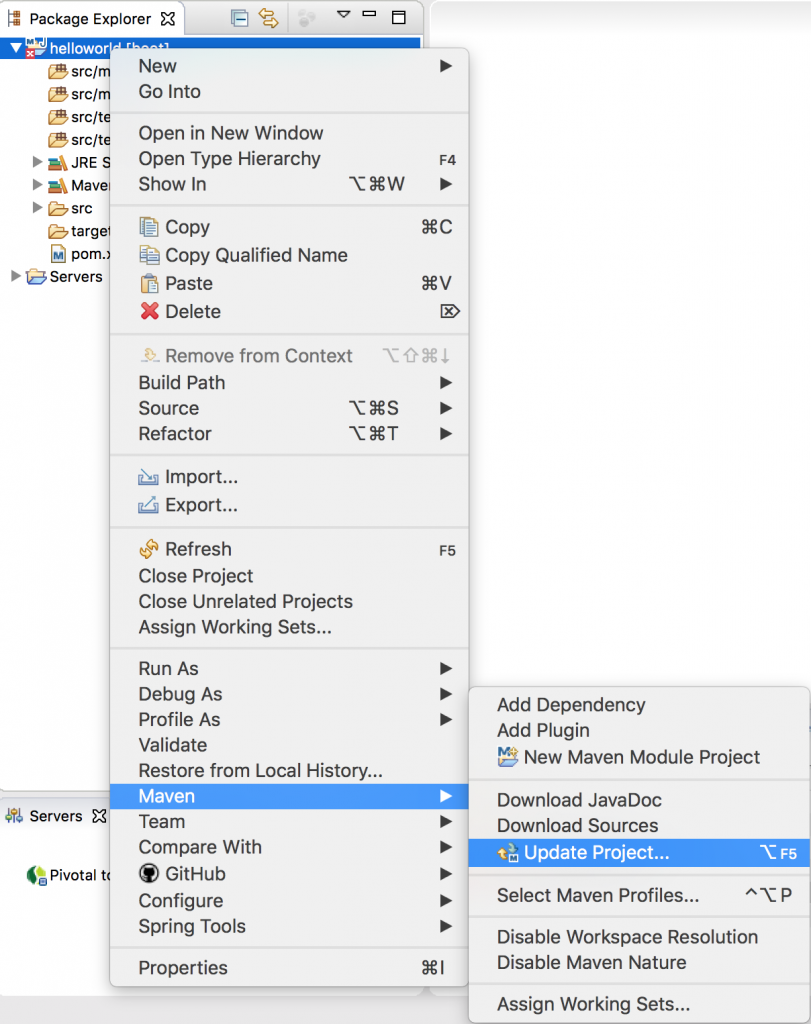
Save the file and Run Maven -> Update Project, It should download all the required dependencies to make a spring-boot project run.
Step 3 : Create a application starting file
Create a file SpringBootApp.java (choose any name you like) which will be the starting point of our spring boot application.
package info.fiveballoons.springboot;

import org.springframework.boot.SpringApplication;
import org.springframework.boot.autoconfigure.SpringBootApplication;

@SpringBootApplication
public class SpringBootApp {

	public static void main(String[] args) {
		SpringApplication.run(SpringBootApp.class, args);
	}

}
The annotation @SpringBootApplication tells Spring that this is a spring boot application that means it will auto-configure the application and will scan the classes in base package and will look for required components.
In the main method, we call static method run of class SpringApplication in which we pass the Class name which contains the main method and args we pass to the main method.
This is all required to build a Spring-Boot Project. You can run the SpringBootApp as a Java Application since it contains the main method and it should start the project with inbuilt tomcat running on port 8080.
Step 4 : Add Controller
We will add a HelloWorldController to test the application running.
package info.fiveballoons.springboot.helloworld;

import org.springframework.stereotype.Controller;
import org.springframework.web.bind.annotation.RequestMapping;
import org.springframework.web.bind.annotation.RequestMethod;
import org.springframework.web.bind.annotation.ResponseBody;

@Controller
public class HelloWorldController {

	@RequestMapping(value="/",method = RequestMethod.GET)
	@ResponseBody
	public String helloWorld() {
		return "Hello World !!";

	}

}
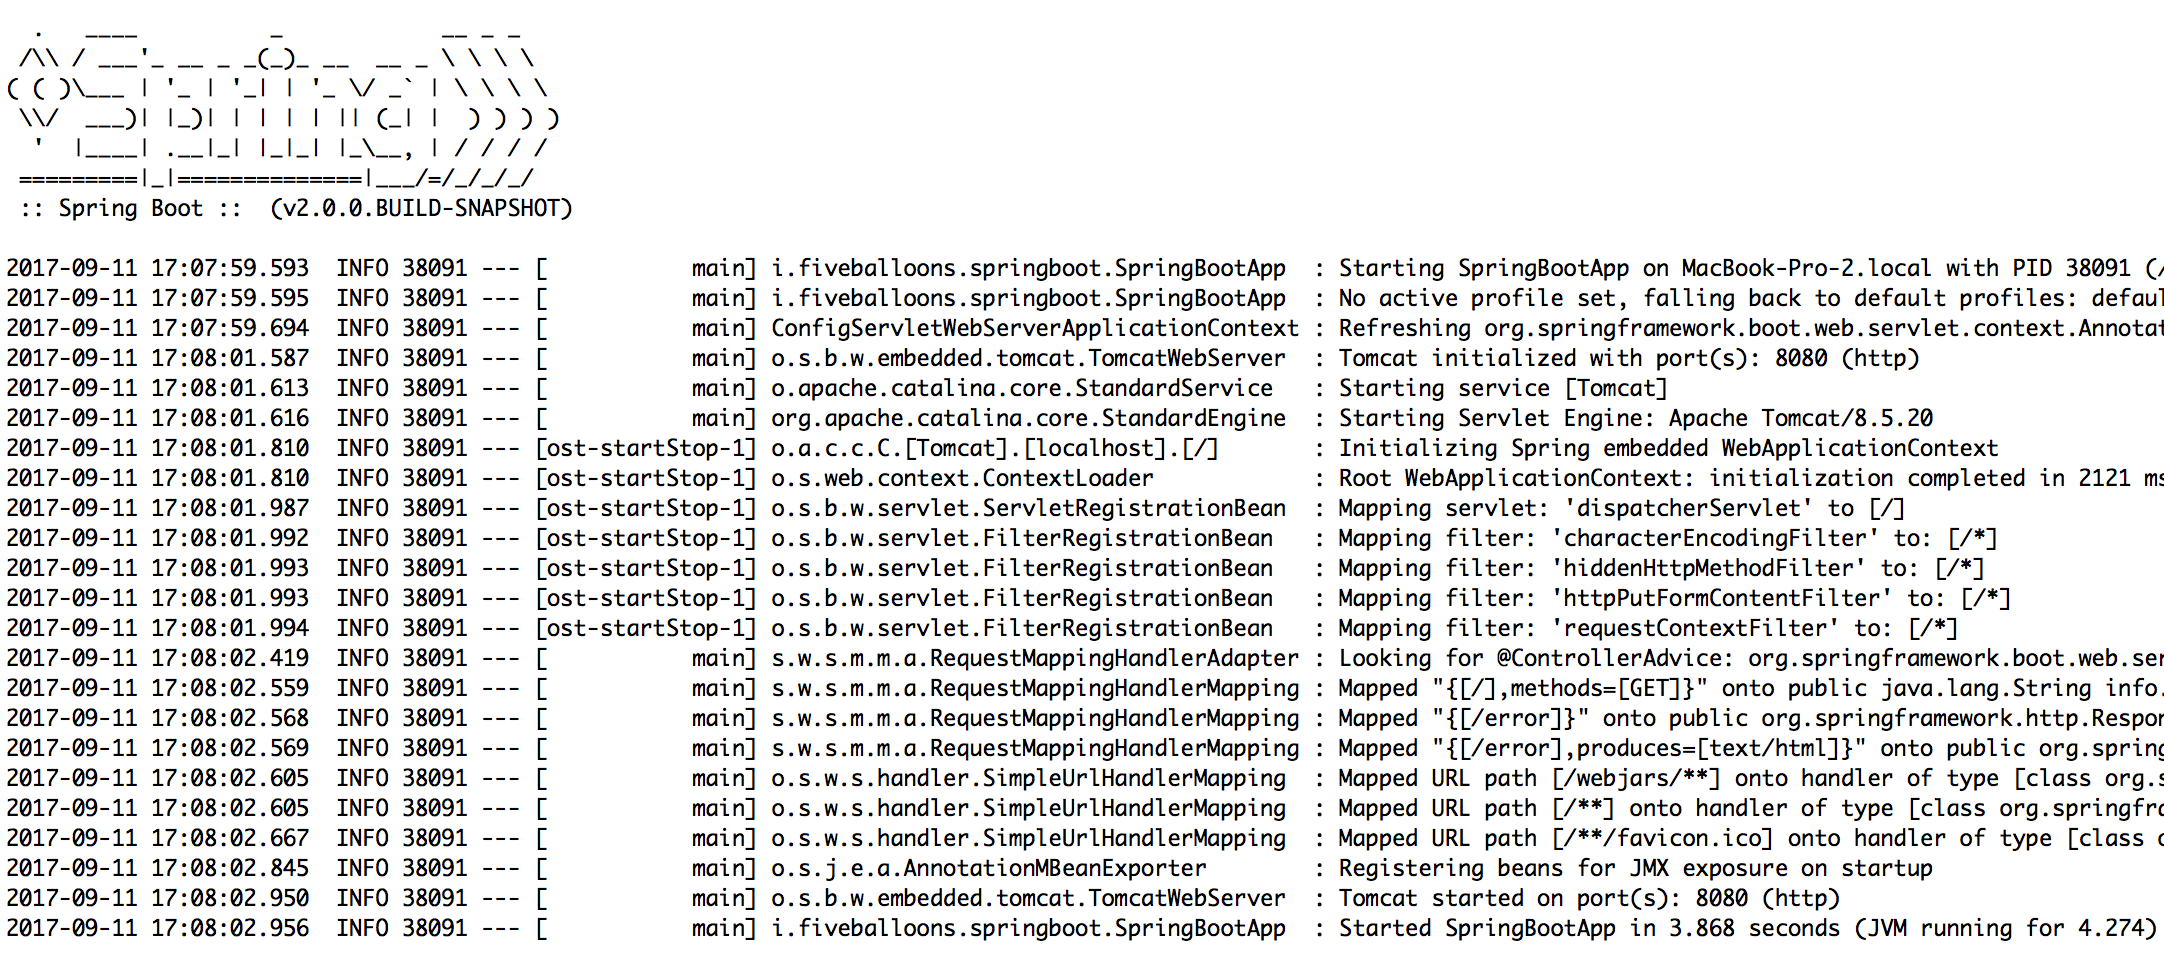
The Controller is pretty straightforward and it returns a String as ResponseBody. Run the main file and you should see the following output in your console.

You should see a default Spring Banner followed by log messages from Spring-Boot. In the last you can see that tomcat started running at port 8080 and it took just 3.8 seconds to start the application.
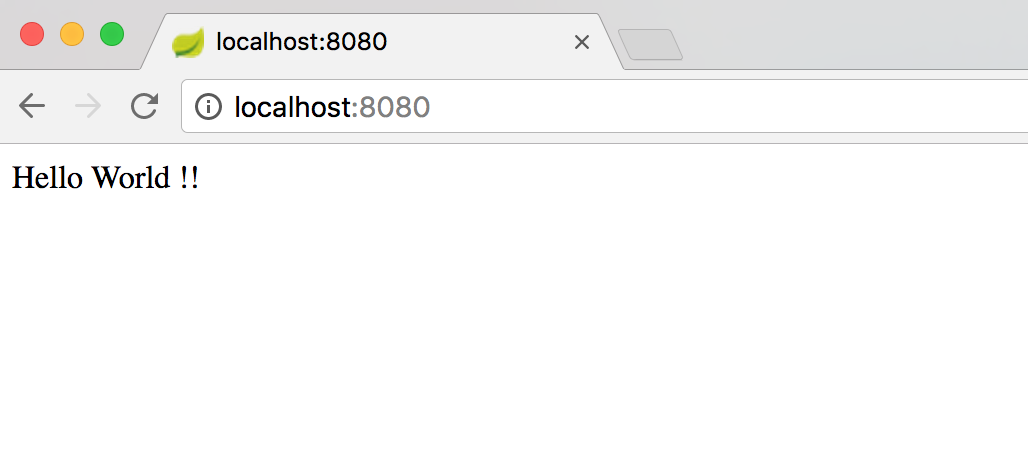
Go to your browser and test localhost:8080 you should see the following output.
[caption id="attachment_682" align="aligncenter" width="1028"] Spring Boot Hello World v 2.0.0[/caption]