This is the
Step 9 of Tutorial
How to Convert Bootstrap 4 Templates to Wordpress Themes . In this step we will convert Portfolio section of our static template into the dynamic theme.
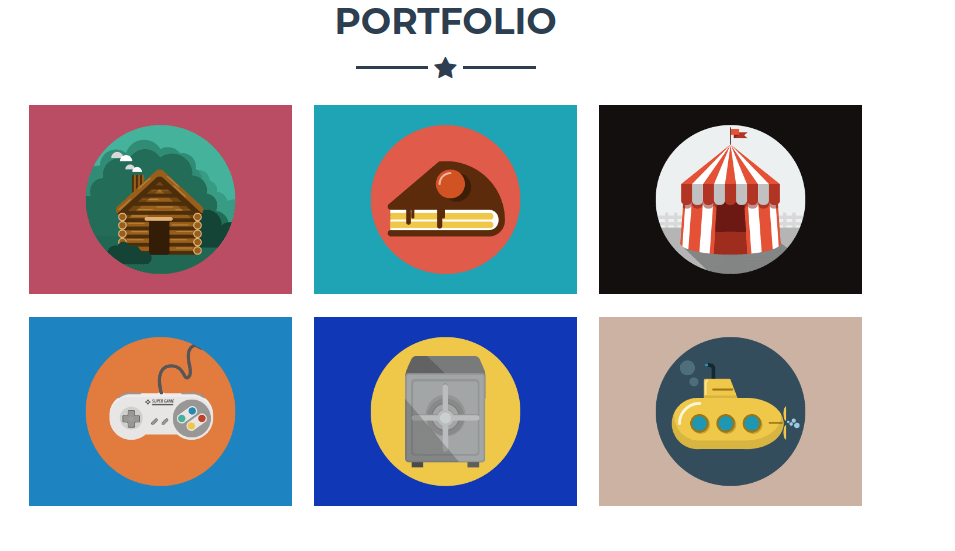
This is how the portfolio section of bootstrap static template looks like. When you click on any of the portfolio image, it opens a corresponding modal pop-up.
The modal pop-up contains the Project Name, Project Image and Project Description.
Steps to convert portfolio section into dynamic.
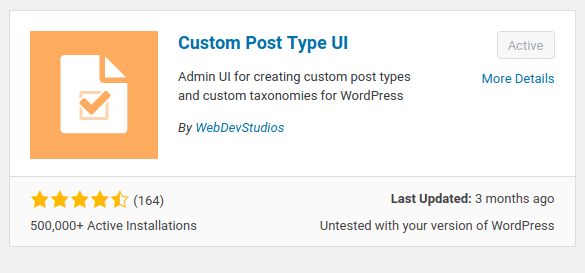
#1 Install Custom Post Type UI
To build portfolio section into dynamic, we will make use of an Amazin Plugin called
Custom Post Type UI. With this plugin we can create each portfolio as a post type.
Why do we need to have each portfolio as a separate post?
This will make your and your client's life easier. When you have made your portfolio section in a way that it can be added, removed or updated directly from the wordpress dashboard, it will be easier for you or your client to do it directly from the dashboard, without going into the html code.
Let's start by installing the
Custom Post Type UI plugin.
-> Go to
Wordpress Dashboard ->
Plugins ->
Add New
Search for
Custom Post Type UI
 Install
 and
Activate the Custom Post Type UI
Once the plugin is installed , you should see a new menu item in Wordpress dashboard with name
CPT UI
Click on CPU UI and go to Add / Edit Post Type.
Add a new post type with following information
- Post Type Slug : portfolios
- Plural Label : portfolios
- Singular Label : portfolio
- Post Type Description : A custom post type to add websites to portfolio
- Menu Name : Portfolio
Click
Add Post Type
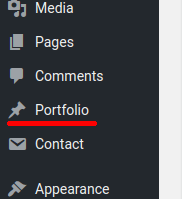
This will create a new Menu item, in your should see a new menu item named
Portfolio
#2 Add Projects in Portfolio
Click on
Portfolio Menu Item and Click
Add New
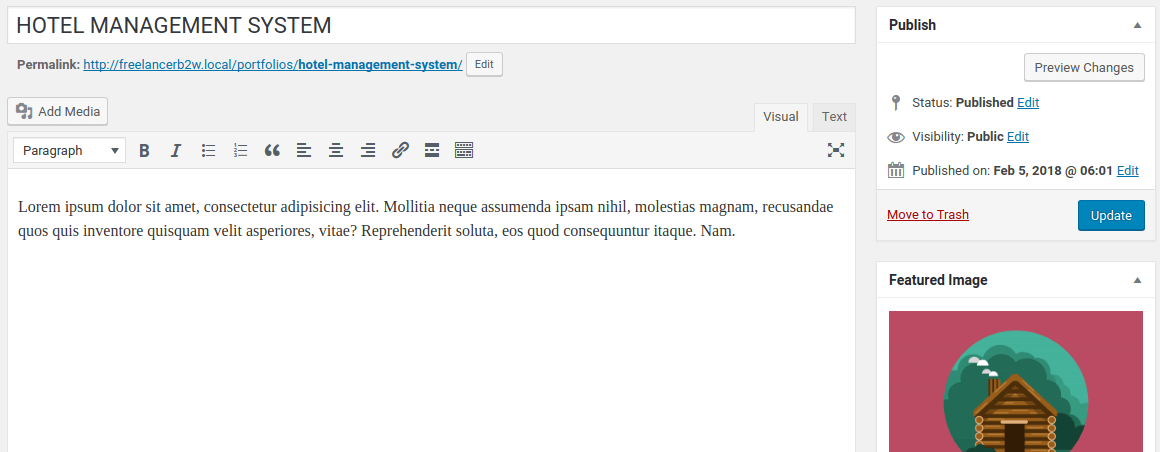
Start adding all your portfolio's as new post type.
- Enter the Post Title as the Project Name.
- Enter the Post Content as the Project Description.
- Upload and Add Feature Image in right side of Post , which you want to use as the Project Image.
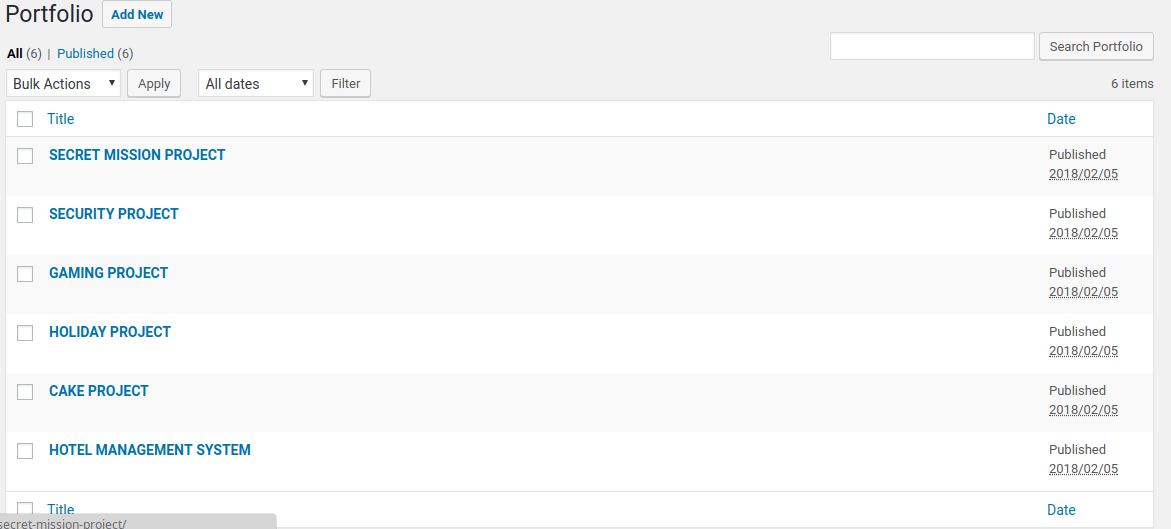
One by One add all the required projects, as portfolio post type.
I have added following portfolio projects in my portfolio section.
Once you have added all the projects in your portfolio, it's time to fetch these dynamically and display it in our wordpress theme.
#3 Fetch and Display Portfolio Images Dynamically.
Open your
page-home.php in your editor and add the following code section just below the hero section to display the portfolio section.
    <!-- Portfolio Grid Section -->
    <section class="portfolio" id="portfolio">
        <div class="container">
            <h2 class="text-center text-uppercase text-secondary mb-0">Portfolio</h2>
            <hr class="star-dark mb-5">
            <div class="row">
                <?php $loop = new WP_Query(array('post_type'=>'portfolios', 'order_by'=>
    'post_id','order'=>'ASC'))?>
                <?php while($loop->have_posts()):
                    $loop->the_post();
                ?>
                    <div class="col-md-6 col-lg-4">
                        <a class="portfolio-item d-block mx-auto" href="#portfolio-modal-<?php the_ID(); ?>">
                            <div class="portfolio-item-caption d-flex position-absolute h-100 w-100">
                                <div class="portfolio-item-caption-content my-auto w-100 text-center text-white">
                                    <i class="fa fa-search-plus fa-3x"></i>
                                </div>
                            </div>
                            <!--<img class="img-fluid" src="" alt="">-->
                            <?php the_post_thumbnail() ?>
                        </a>
                    </div>
                <?php endwhile; ?>
           </div>
        </div>
    </section>
If you notice closely, we are getting all the portfolio projects available in the database using a Wordpress function, which will transform into query and will bring all the portfolio for you in the code.
<?php $loop = new WP_Query(array('post_type'=>'portfolios', 'order_by'=>
    'post_id','order'=>'ASC'))?>
Once the portfolio projects are fetched, we apply while loop over them, to get the information from it.
the_post_thumbnail() function is used to get the featured image of the portfolio project.
We also need to generate the code that will generate the code for Modal Pop-Up windows.
#4 Generate Portfolio Modal PopUp Dynamically
Open the file
footer.php and add following code just below the
the_footer() function.
<!-- Portfolio Modals -->
<?php $loop = new WP_Query(array('post_type'=>'portfolios', 'order_by'=>
    'post_id','order'=>'ASC'))?>
<?php while($loop->have_posts()):
$loop->the_post();
?>
<!-- Portfolio Modal 1 -->
<div class="portfolio-modal mfp-hide" id="portfolio-modal-<?php the_ID(); ?>">
    <div class="portfolio-modal-dialog bg-white">
        <a class="close-button d-none d-md-block portfolio-modal-dismiss" href="#">
            <i class="fa fa-3x fa-times"></i>
        </a>
        <div class="container text-center">
            <div class="row">
                <div class="col-lg-8 mx-auto">
                    <h2 class="text-secondary text-uppercase mb-0"><?php the_title(); ?></h2>
                    <hr class="star-dark mb-5">
                    <?php the_post_thumbnail() ?>
                    <!--<img class="img-fluid mb-5" src="img/portfolio/cabin.png" alt="">-->
                    <p class="mb-5"><?php the_content(); ?> </p>
                    <a class="btn btn-primary btn-lg rounded-pill portfolio-modal-dismiss" href="#">
                        <i class="fa fa-close"></i>
                        Close Project</a>
                </div>
            </div>
        </div>
    </div>
</div>

<?php endwhile; ?>
We are using the same query function to generate the Modal Pop-Up Code. Project name is fetched via
the_title() and project description is fetched via function
the_content()
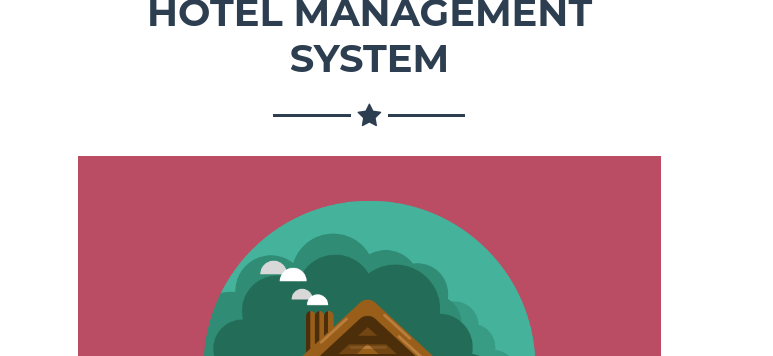
Refresh the page and your portfolio section now looks awesome and is dynamic.
Next at
Step 10 : We will convert the About Section into Dynamic using Advanced Custom Field Plugin.