In this short tutorial we will cover an
Example of File Upload with Validation in Laravel 5.6. We will use Laravel's
File Storage abstraction to upload file to the server.
Let's dig into the steps, Make sure you have a
Laravel 5.6 project setup ready.
Create Route, Controller and View for Form Upload Page.
To begin with the file upload example. Let's create a route for the
GET request to the file upload page, a corresponding controller method and a view file that will show the File Upload Form to the user.
Add the following entry in your
web.php file which is located under
routes folder.
Route::get('uploadfile','HomeController@uploadfile');
Next, let's add a corresponding controller method in
HomeController.php which is located under
App >
Http folder, which will be used to return the file upload view.
    /** Return view to upload file */
    public function uploadFile(){
        return view('uploadfile');
    }
Let's now create a view file that will display the file upload form to user. Create a new file
uploadfile.blade.php under folder
resources >
views folder.
Put following contents in the file.
@extends('layouts.app')

@section('content')
    <div class="container">
        <div class="row justify-content-center">
            <div class="card">
                <div class="card-header">Upload File Example</div>

                <div class="card-body">
                    @if ($message = Session::get('success'))

                        <div class="alert alert-success alert-block">

                            <button type="button" class="close" data-dismiss="alert">×</button>

                            <strong>{{ $message }}</strong>

                        </div>

                    @endif

                    @if (count($errors) > 0)
                        <div class="alert alert-danger">
                            <strong>Whoops!</strong> There were some problems with your input.<br><br>
                            <ul>
                                @foreach ($errors->all() as $error)
                                    <li>{{ $error }}</li>
                                @endforeach
                            </ul>
                        </div>
                    @endif


                        <form action="/uploadfile" method="post" enctype="multipart/form-data">
                            @csrf
                            <div class="form-group">
                                <input type="file" class="form-control-file" name="fileToUpload" id="exampleInputFile" aria-describedby="fileHelp">
                                <small id="fileHelp" class="form-text text-muted">Please upload a valid image file. Size of image should not be more than 2MB.</small>
                            </div>
                            <button type="submit" class="btn btn-primary">Submit</button>
                        </form>
                </div>
            </div>
        </div>
    </div>
@endsection
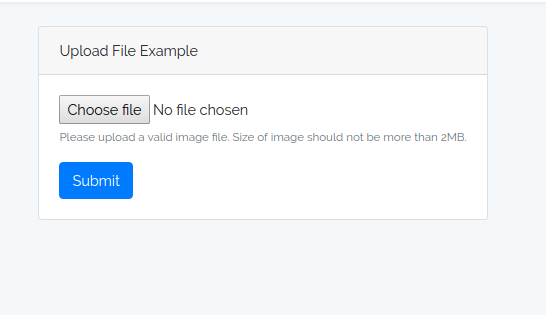
Now when you hit url
/uploadfile in the browser, you should be able to see the following file upload form.
Route and Controller Method to Upload File
Next, let's create a route and controller method that will handle the
POST request from the file upload form and will store the file to the server.
Add the following route entry to your
web.php file under routes directory.
Route::post('uploadfile','HomeController@uploadFilePost');
Next add the corresponding controller method
uploadFilePost in your
HomeController.php
    /** Example of File Upload */
    public function uploadFilePost(Request $request){
        $request->validate([
            'fileToUpload' => 'required|file|max:1024',
        ]);

        $request->fileToUpload->store('logos');

        return back()
            ->with('success','You have successfully upload image.');

    }
We are using
store() method on the file parameter of
$request object. This will create a new folder under directory
storage >
app named
logos, and the file uploaded will be stored under it. You can specify the folder where the file should be uploaded – see parameter
‘logos’.
As you can see, Laravel generated a random filename, but you can easily override it – use function
storeAs():
    /** Example of File Upload */
    public function uploadFilePost(Request $request){
        $request->validate([
            'fileToUpload' => 'required|file|max:1024',
        ]);

        $fileName = "fileName".time().'.'.request()->fileToUpload->getClientOriginalExtension();

        $request->fileToUpload->storeAs('logos',$fileName);

        return back()
            ->with('success','You have successfully upload image.');

    }
Making Files Public
As you can notice current files are uploaded to the
storage directory which is not public by default. It's the Laravel's default settings to hide default file upload from user's as a security perspective.
Now, what if you want to upload your files, so that it will be visible to
public?
You need to change following things.
- Change disk config : Open filesystems.php which is located under public directory. Change the default parameter from local to public. By doing this file will be stored in storage/app/public directory.
'default' => env('FILESYSTEM_DRIVER', 'public'),
2. Symlink. Put a
symlink from
/public/storage to
/storage/app/public folder, with one Artisan command:
php artisan storage:link

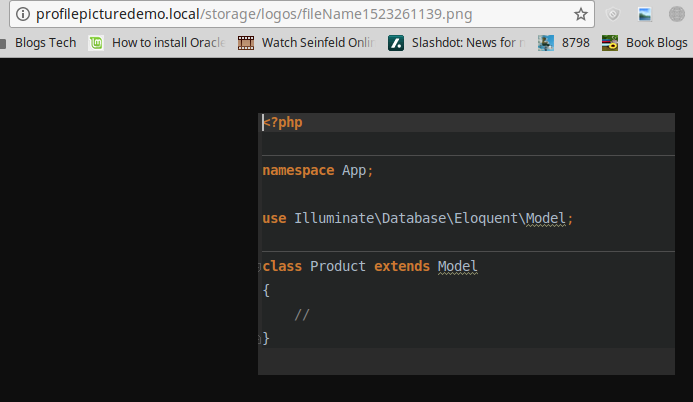
This command will make sure the file uploaded are now public.
Now, we can access the file from our example:
Demo
That's it ! Hope you had fun learning File Upload in Laravel the right way.
