

Livewire is a popular package for Laravel developers that enables them to build dynamic interfaces with minimal JavaScript.
In this blog, we'll go through the steps of installing Livewire on a new Laravel 10 project from scratch.
Step 1: Install Laravel 10.
The first step is to install and create a new Laravel 10 project. Open a terminal window and run the following command in the directory where you want to create your new project:
composer create-project --prefer-dist laravel/laravel demoproject "10.*"
This will create a new Laravel 10 project named demoproject.
Step 2: Install Livewire
Once you have your new Laravel 10 project set up, the next step is to install Livewire. To do this, run the following command in your terminal:
composer require livewire/livewire
This will install the latest version of Livewire and all its dependencies.
Step 3: Set up Livewire
Now that Livewire is installed, we need to set it up in our Laravel 10 project.
First, we need to publish Livewire's configuration file. (Publishing the configuration file is optional)
Run the following command
php artisan livewire:publish --config
This will create a new configuration file in the config directory of your Laravel 10 project.
Next for livewire to work we need to include Livewire's assets in our project. we can create a layout file in \resources\views\app.blade.php and add Livewire's assets in this, so that it can be easily included in all livewire components.
Here is code for \resources\views\app.blade.php
<!DOCTYPE html>
<html lang="en">
<head>
    <title>Document</title>
    @livewireStyles
</head>
<body>
    @yield('content')
    @livewireScripts
</body>
</html>
Step 4: Creating a Livewire component
Now that Livewire is set up in your Laravel 10 project, it's time to create a Livewire component. A Livewire component is a class that defines the logic and presentation of a user interface element. To create a Livewire component, run the following command:
php artisan make:livewire counter
Running this command will generate the following two files:
- Component file
app\Http\Livewire\Counter.php - And component blade file
\resources\views\livewire\counter.blade.php
The created component file will have the render code in it.
<?php

namespace App\Http\Livewire;

use Livewire\Component;

class Counter extends Component
{


    public function render()
    {
        return view('livewire.counter');
    }
}
I have added counter functionality in this counter component so the code would be :
<?php

namespace App\Http\Livewire;

use Livewire\Component;

class Counter extends Component
{
    public $count = 0;

    public function increment()
    {
        $this->count++;
    }

    public function render()
    {
        return view('livewire.counter');
    }
}
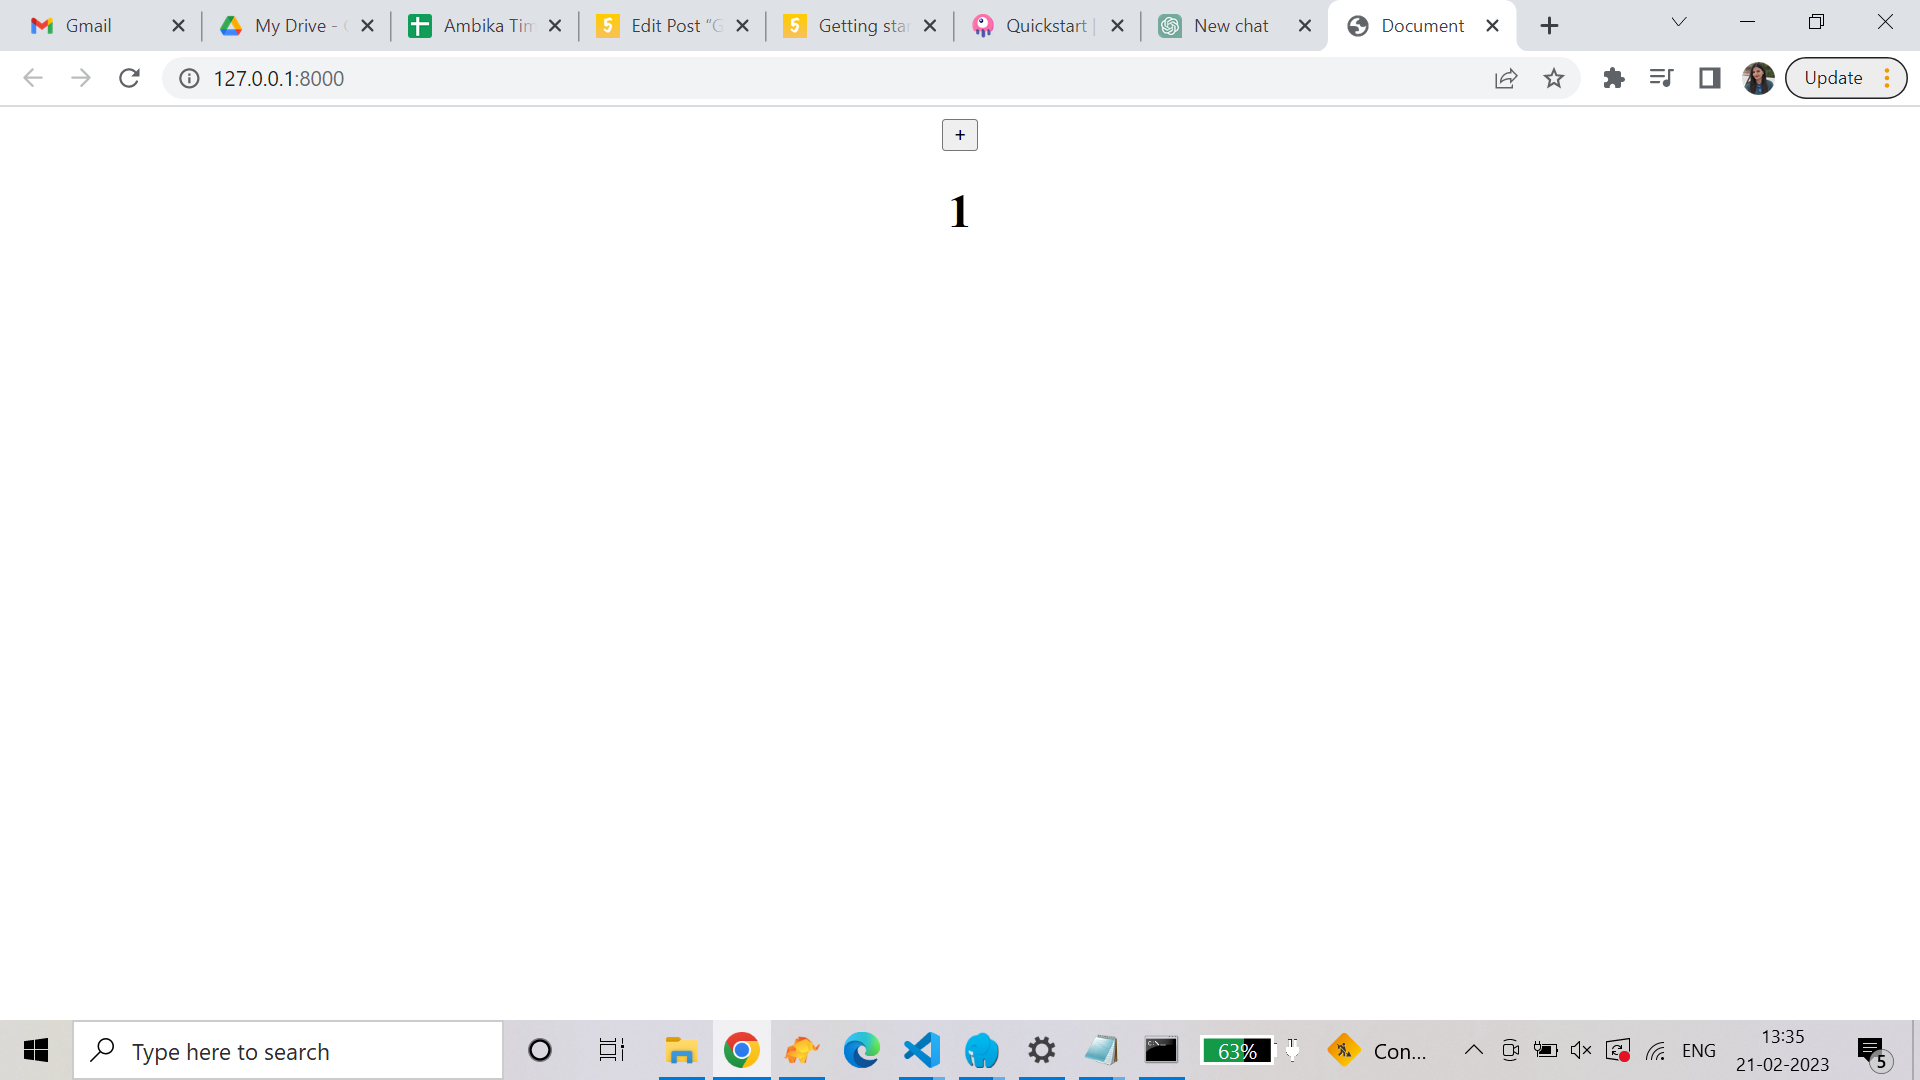
Here is the code for component blade file for livewire counter component. Here we need to remember one thing, that Livewire components MUST have a single root element.
<div style="text-align: center">
    <button wire:click="increment">+</button>
    <h1>{{ $count }}</h1>
</div>
Step 5: Rendering a Livewire component
we can use livewire component in our project by creating a view file and add component in it.
\resources\views\counter.blade.php
@extends('app')
@section('content')
@livewire('counter')
@endsection
Step 6: View the output in browser
Lets add a route in web.php to run this livewire component :
Route::get('/', function () {
    return view('counter');
});
If you are looking for Reusable Livewire Components checkout LivewireDemos.