This article takes your through step by step process of how to deploy your Laravel Application which connects to the SQL Server Database on Digital Ocean and we will be using Laravel Forge for this.
Setup A Laravel Forge and Digital Ocean Account
1. Create a new account on Laravel Forge as well as Digital Ocean.
To create a new server on Digital Ocean through Laravel Forge. You need to add a Personal Access Token of DO to Laravel Forge.
2. Generate Personal Access Token in Digital Ocean
Go to
https://cloud.digitalocean.com/account/api/tokens and generate a new personal access token.

Copy the new token generated.
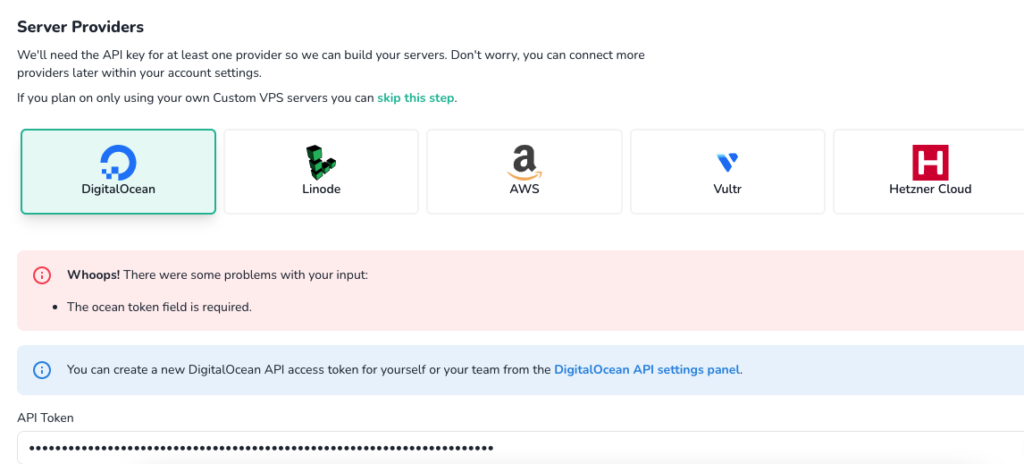
3. Put the Access Token into Forge
For forge to access your digital access account. We will need to put the Personal Access Token into it. Choose the Digital Ocean option in the list of servers and put the personal access token in it.
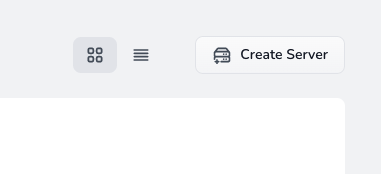
 4. Create a New Server
Now you should have the ability to spin up a new DO server via Forge
Choose the desired Server OS
For the Server Type Choose
App Server
Name your server
Choose a desired location and Server Size (Keep Note that SQL Server requires a
minimum of 2GB RAM)
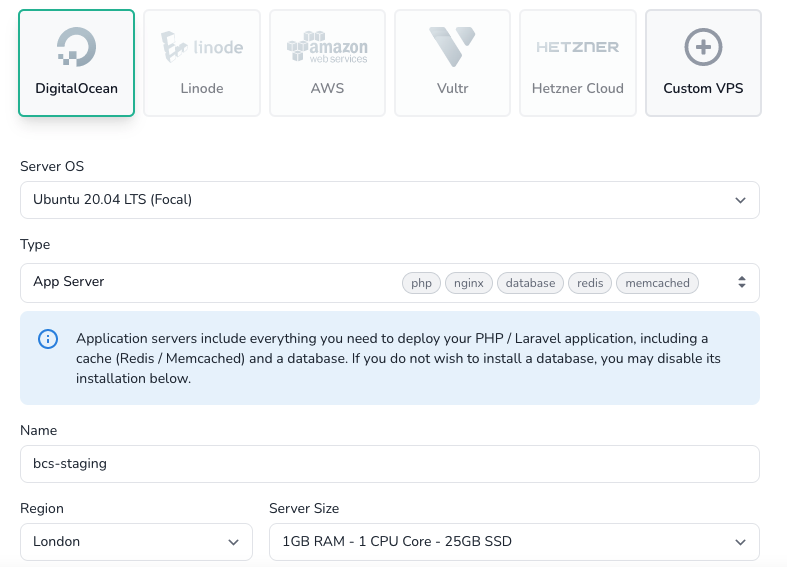
Choose the desired PHP Version. You can leave the Database to None, since we are not using Mysql or Pgsql in this case.
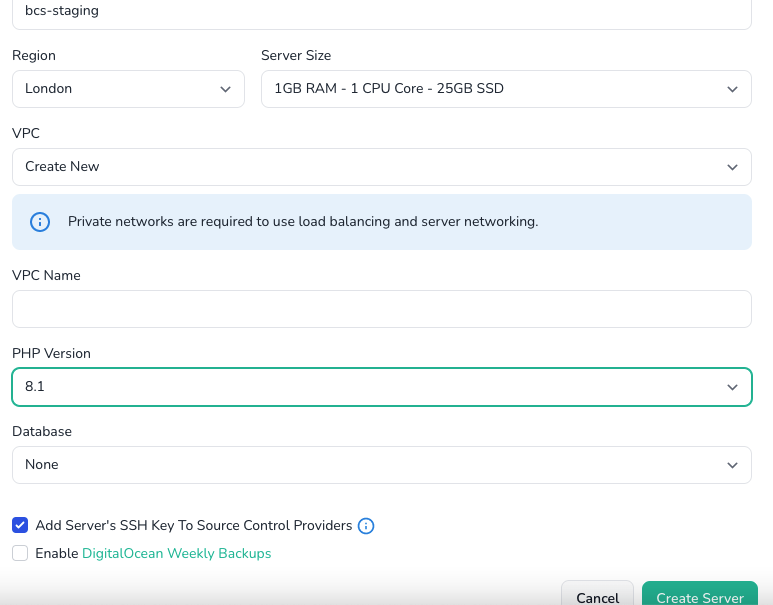
Once you click on Create Server you will be provided with the sudo password for your server. Copy this, since you won't have access to it later.
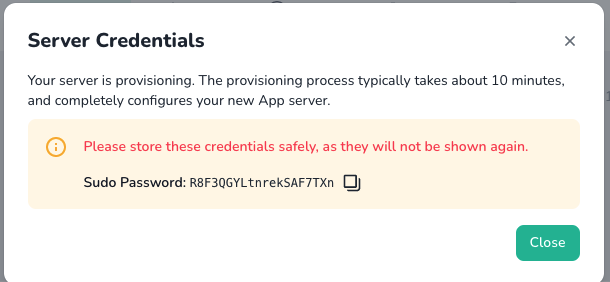
Next up, Forge will take few minutes to provision a new server
 5. Deploy your Laravel App through Github
Now that we have the server ready. It's time to deploy your code into the server. Go to Sites option in Forge wherein you would be able to choose type of application you are looking to deploy. Choose Github from the options.
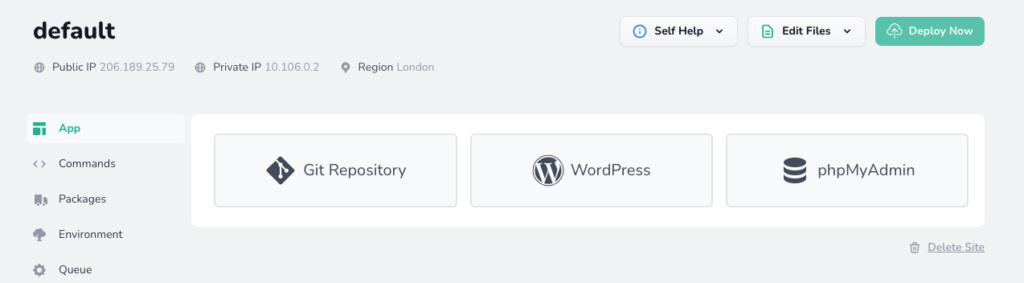
Provide the application's github repository and branch which you want to deploy to the server.

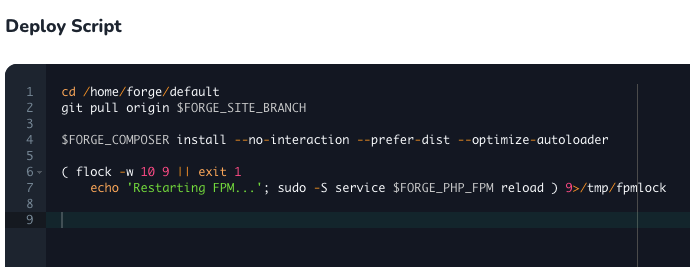
Forge provides an option to alter the deployment script that runs every-time you hit the deploy button.
You can choose the environment menu option to change the properties in the environment file.
To build the frontend assets, Go to Commands section and Run the following command
npm install
npm run prod
Once you have configured the application. You should be able to access application's home page via Public URL provided by forge.
Next up let's setup SQL Server on our Digital Ocean Server.
Setup SQL Server on Digital Ocean Server
Since Forge does not have a option to setup SQL Server on Digital Ocean, we would have to do that manually.
1. SSH into the Digital Ocean Server
To be able to SSH into the Digital Ocean Server, you would need to add your local machine's public key into the forge.
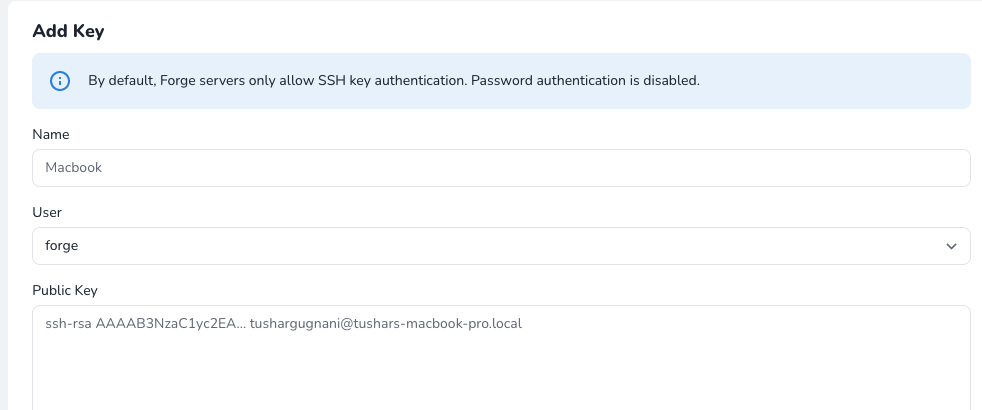
Once you add your keys into forge. You should be able to SSH into the server by executing following command in your terminal.
ssh forge@your-server-public-ip
2. Install SQL Server on Digital Ocean
Run the following commands to install sql server
Import the public repository GPG keys:
wget -qO- https://packages.microsoft.com/keys/microsoft.asc | sudo apt-key add -
Register the Microsoft SQL Server Ubuntu repository for SQL Server 2019:
For Ubuntu 20.04:
sudo add-apt-repository "$(wget -qO- https://packages.microsoft.com/config/ubuntu/20.04/mssql-server-2019.list)"

Run the following commands to install SQL Server:
sudo apt-get update
sudo apt-get install -y mssql-server
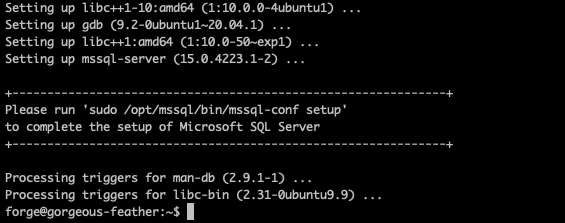
After the package installation finishes, run mssql-conf setup and follow the prompts to set the SA password and choose your edition
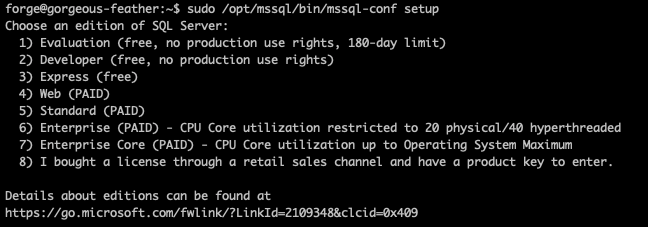
sudo /opt/mssql/bin/mssql-conf setup
This command will setup sql server. Choose the edition of sql server you want to install

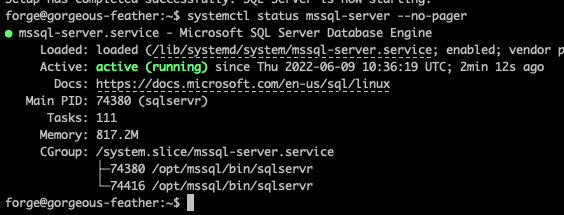
Once the configuration is done, verify that the service is running
Import the public repository GPG keys.
curl https://packages.microsoft.com/keys/microsoft.asc | sudo apt-key add -
Register the Ubuntu repository.
curl https://packages.microsoft.com/config/ubuntu/20.04/prod.list | sudo tee /etc/apt/sources.list.d/msprod.list
Update the sources list and run the installation command with the unixODBC developer package
sudo apt-get update
sudo apt-get install mssql-tools unixodbc-dev
You can update to the latest version of mssql-tools using the following commands:
sudo apt-get update
sudo apt-get install mssql-tools
For convenience, add /opt/mssql-tools/bin/ to your PATH environment variable, to make sqlcmd or bcp accessible from the bash shell.
For interactive sessions, modify the PATH environment variable in your ~/.bash_profile file with the following command:
echo 'export PATH="$PATH:/opt/mssql-tools/bin"' >> ~/.bash_profile
For non-interactive sessions, modify the PATH environment variable in your ~/.bashrc file with the following command:
echo 'export PATH="$PATH:/opt/mssql-tools/bin"' >> ~/.bashrc
source ~/.bashrc
Next up install few more dependencies to connect sql server to the PHP application
sudo su -
sudo curl https://packages.microsoft.com/keys/microsoft.asc | apt-key add -
sudo curl https://packages.microsoft.com/config/ubuntu/21.04/prod.list > /etc/apt/sources.list.d/mssql-release.list
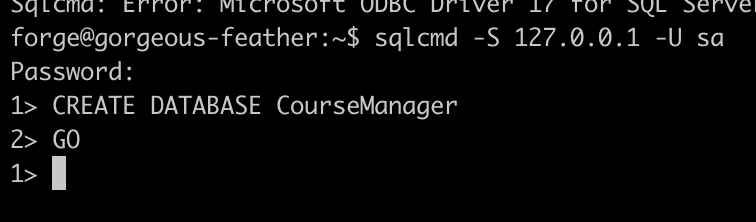
Connect to your sql server database through command lineTo connect to the server via command line execute following command
sqlcmd -S 127.0.0.1 -U sa
Enter the password when it prompts for it
Create a New Database
You can use sqlcmd commands to generate a new database. To create a new database execute the following command after connecting to the database via command line
CREATE DATABASE TestDB
GO
Installing PDO Package to Connect with PHP
Run following commands
curl https://packages.microsoft.com/config/ubuntu/21.04/prod.list > /etc/apt/sources.list.d/mssql-release.list
sudo apt-get update
ACCEPT_EULA=Y apt-get install -y msodbcsql17
pecl install sqlsrv

pecl install pdo_sqlsrv
Run below as root user
printf "; priority=20\nextension=sqlsrv.so\n" > /etc/php/8.1/mods-available/sqlsrv.ini
printf "; priority=30\nextension=pdo_sqlsrv.so\n" > /etc/php/8.1/mods-available/pdo_sqlsrv.ini
 phpenmod -v 8.1 sqlsrv pdo_sqlsrv
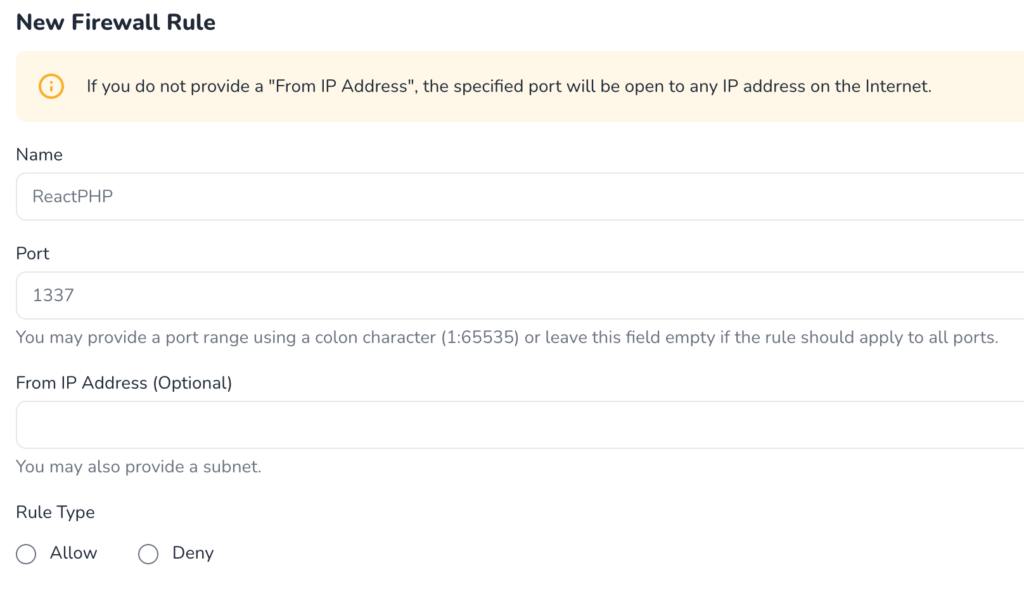
To connect to the database from a sql client from other machine we will need to open the default sql server port. i.e. 1433 through firewall.
Go the server in forge, and choose the
option. You can add a rule that allows connecting to port 1433.
rule as follows.