Here is a detailed tutorial on How to Install Wordpress on Ubuntu 20.04.
Although there are different ways to get started with the Wordpress setup. In this tutorial, we will be taking the simplest possible approach to get started with the WordPress by installing PHP and mySQL and firing up the Wordpress on
in-built PHP Server.
Thus I am not going to install XAMPP or the LAMP stack and we'll see how we can have multiple Wordpress sites running on the system using simple approach
Let's get started and dive into the steps.
At the time of writing this article the latest version of Wordpress is 5.5 and
1. Install PHP
You can skip this step if you already have php installed in your system. You can confirm by running the following command
php -v
Ubuntu 20.04 comes with PHP 7.4 in its upstream repositories. You can just update the repositories and run the apt install command to install the latest PHP version.
sudo apt udpate
sudo apt install php
Once you have it installed, you can confirm by checking the current version.

2. Install MySQL
Your Wordpress application needs a back-end database to store various kind of data and configurations. Thus we'll need to install mysql in our local machine wherein we will create the new database for WordPress.
Follow along the steps to Install MySQL on your machine
Run the following command to install mysql server and php mysql connector
sudo apt-get install mysql-server php7.4-mysql
Once you have mysql installed, If you are looking to set a strong password for your mysql connection. You can configure the security options by executing the following command, and following along with the questions asked.
sudo mysql_secure_installation
If you are okay with the blank password for your mysql you can skip this step.
Next Up, To be able to connect to MySQL to a client (like PhpMyAdmin, DBeaver), we need to be able to connect to mysql without sudo privileges. Execute following commands.
sudo mysql -u root -p
Enter your password once prompted, It will login you into mysql console
Execute the following query
mysql> ALTER USER 'root'@'localhost' IDENTIFIED WITH mysql_native_password BY 'password';
Be sure to change the password to your mysql password or leave blank if you haven't set any password for your mysql.
mysql> FLUSH PRIVILEGES;
exit; out of mysql prompt and try logging in again without sudo privilege.
3. Create Database
Before we start the wordpress installation, we'll need to create a blank database in the mysql.
You can use any mysql client like (PhpMyAdmin, Dbveaver) to connect to your mysql and create the database using the software.
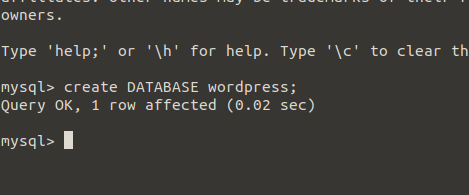
OR, you can create the database by executing the command line query by logging into your mysql
mysql> create DATABASE wordpress;
4. Download and Install WordPress
Head over to
https://wordpress.org/download/ and start download the latest version of WordPress on to your local Ubuntu machine.
Extract the WordPress zip and put the folder in your desired directory. I have placed mine into
~/code directory.
Open the terminal and navigate inside the wordpress folder.
Fire up the inbuilt-php server using the following command
php -S localhost:4000
You can choose the port number as per your convenience.

Open the browser and navigate to the URL
localhost:4000, This should start the Wordpress installation.
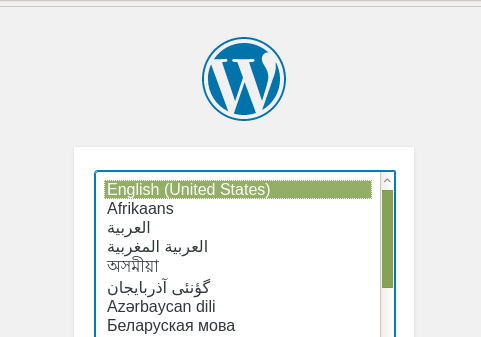
Follow along the steps
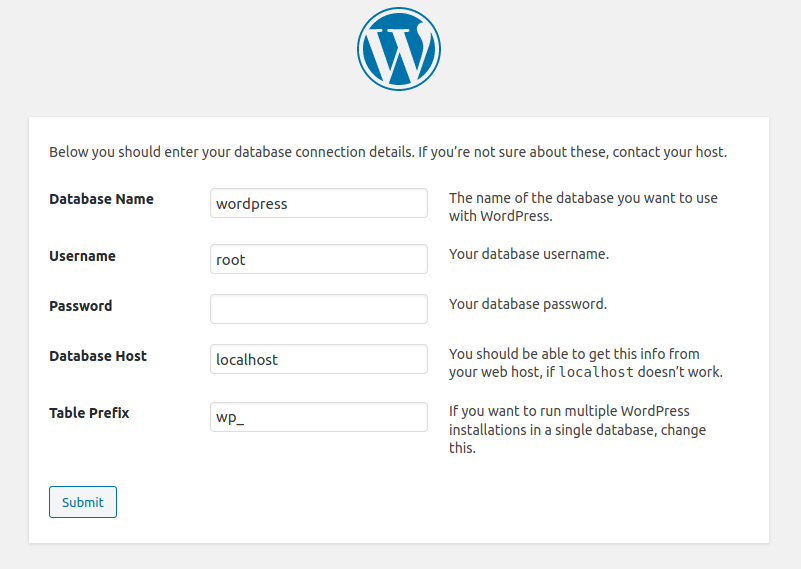
Since I have did not configure mysql password, I left the password option and filled in the rest of the details.
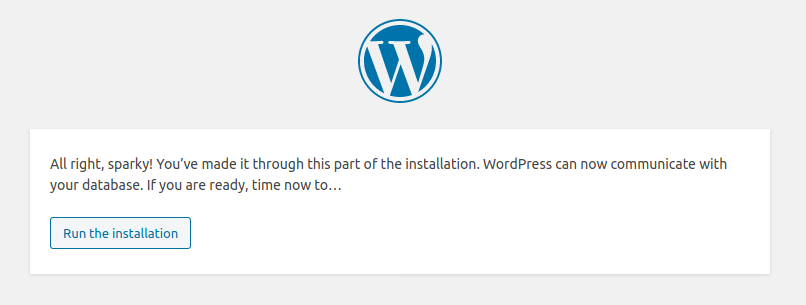
In the next step provide the site name, username and password for the Wordpress Admin and you are good to go.
You now done the Wordpress installation and you can login into the wordpress dashboard by going to URL http://localhost:4000/wp-admin/
5. Rewriting URLs
Using wordpress on builtin PHP server works great, but there is a caveat. This configuration works fine for the
index.php?request=parameter kind of urls, but it won't work for the cases where wordpress uses permalinks.
On apache server it relies on using .htaccess file rewriting the URL's and in this case we'll create a new file named router.php in the root folder of the wordpress.
Put the following content in the
router.php file.
<?php

$root = $_SERVER['DOCUMENT_ROOT'];
chdir($root);
$path = '/'.ltrim(parse_url($_SERVER['REQUEST_URI'])['path'],'/');
set_include_path(get_include_path().':'.__DIR__);
if(file_exists($root.$path))
{
  if(is_dir($root.$path) && substr($path,strlen($path) - 1, 1) !== '/')
    $path = rtrim($path,'/').'/index.php';
  if(strpos($path,'.php') === false) return false;
  else {
    chdir(dirname($root.$path));
    require_once $root.$path;
  }
}else include_once 'index.php';
That's about it, restart the server and all the permalinks URL should work fine.
6. Multiple Wordpress Setups
With the approach of using the built-in PHP server you can have multiple wordpress installations.
You just need to make sure each of the Wordpress URL have their dedicated ports and then everytime you start the built-in PHP server you use the same URL
php -S localhost:4000  //Wordpress project 1

php -S localhost:4001  //Wordpress project 2

php -S localhost:4002  //Wordpress project 3
That's all about Fresh Wordpress installation on Ubuntu.


 Open the browser and navigate to the URL
  Follow along the steps
 Since I have did not configure mysql password, I left the password option and filled in the rest of the details.
 In the next step provide the site name, username and password for the Wordpress Admin and you are good to go.
You now done the Wordpress installation and you can login into the wordpress dashboard by going to URL http://localhost:4000/wp-admin/
