
Here is the detailed tutorial on How to Install Laravel on your Ubuntu Machine running the version 20.04 of Ubuntu.
Although there are different ways to get started with the Laravel that includes using XAMPP, using Homestead etc. In this tutorial we will work with the simplest approach of first installing all the required dependencies and then we'll work our way through to install and use Laravel.
Here are the Steps.
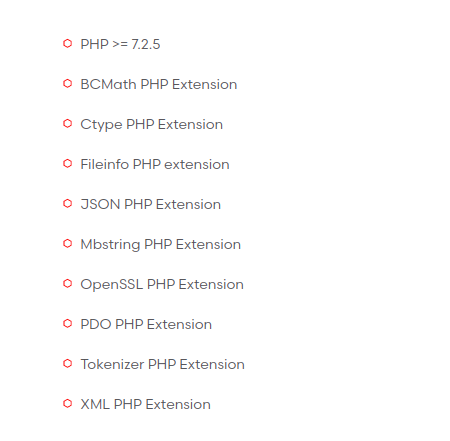
The latest version of Laravel at the time of writing this tutorial is 7.24 and according to the documentation here are the requirements to get started with Laravel
# 1. Install PHP
Let's get going with the first step, open your terminal and check if you have PHP already installed by running the following command
php -vIf this command returns a php version number >7.2.5 you are good to go to the next step, If not then you need to install / update the php on your machine.
Here are the quick commands to achieve that.
sudo apt-get-repository ppa:ondrej/php
sudo apt-get update
sudo apt-get install -y php7.3
If you are looking for a detailed tutorial you can read up more here How to Install PHP on Ubuntu 20.04
# 2. Install additional PHP Modules
Once you have the PHP installed in your system, Its time to install the additional PHP Modules into the system.
To check if already have the modules installed in your system, You can run the following command to see the installed modules list
php -mRun the following command to install the additional required modules into Ubuntu
sudo apt-get install php7.3-bcmath php7.3-mbstring php7.3-zip php7.3-xml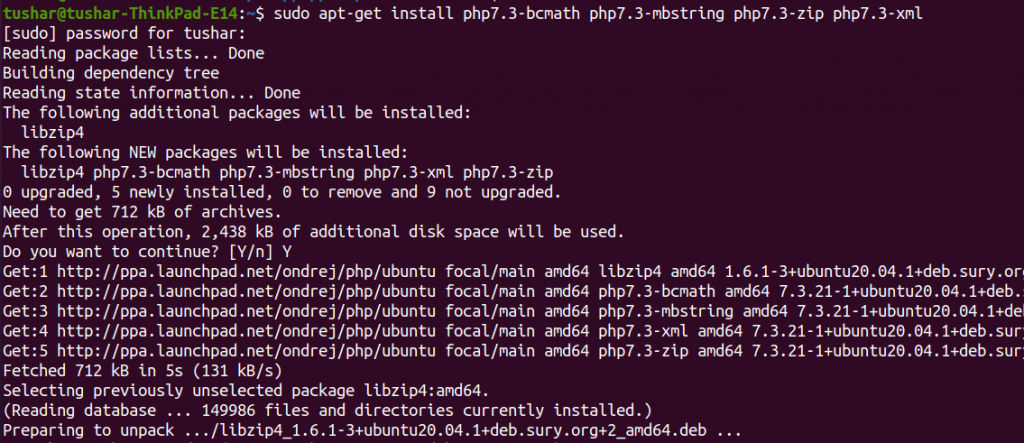
# 3. Setup Composer
Time to setup Composer. Composer is a dependency manager tool, we will use it to download the laravel installer and also Laravel uses this to manage it's dependencies.
Check if you already have Composer installed in your system by running the following command
composer -vExecute the following commands if you don't already have the Composer installed.
php -r "copy('https://getcomposer.org/installer', 'composer-setup.php');"
php -r "if (hash_file('sha384', 'composer-setup.php') === 'e5325b19b381bfd88ce90a5ddb7823406b2a38cff6bb704b0acc289a09c8128d4a8ce2bbafcd1fcbdc38666422fe2806') { echo 'Installer verified'; } else { echo 'Installer corrupt'; unlink('composer-setup.php'); } echo PHP_EOL;"
php composer-setup.php
php -r "unlink('composer-setup.php');"
mv composer.phar /usr/local/bin/composer
If you are looking to read the detailed instructions, Here is an in-depth article on Installing Composer Globally on Ubuntu 20.04
# 4. Download Laravel Installer
Once the composer is installed, we can use it to download the laravel/installer. Here is how you can download it
composer global require laravel/installer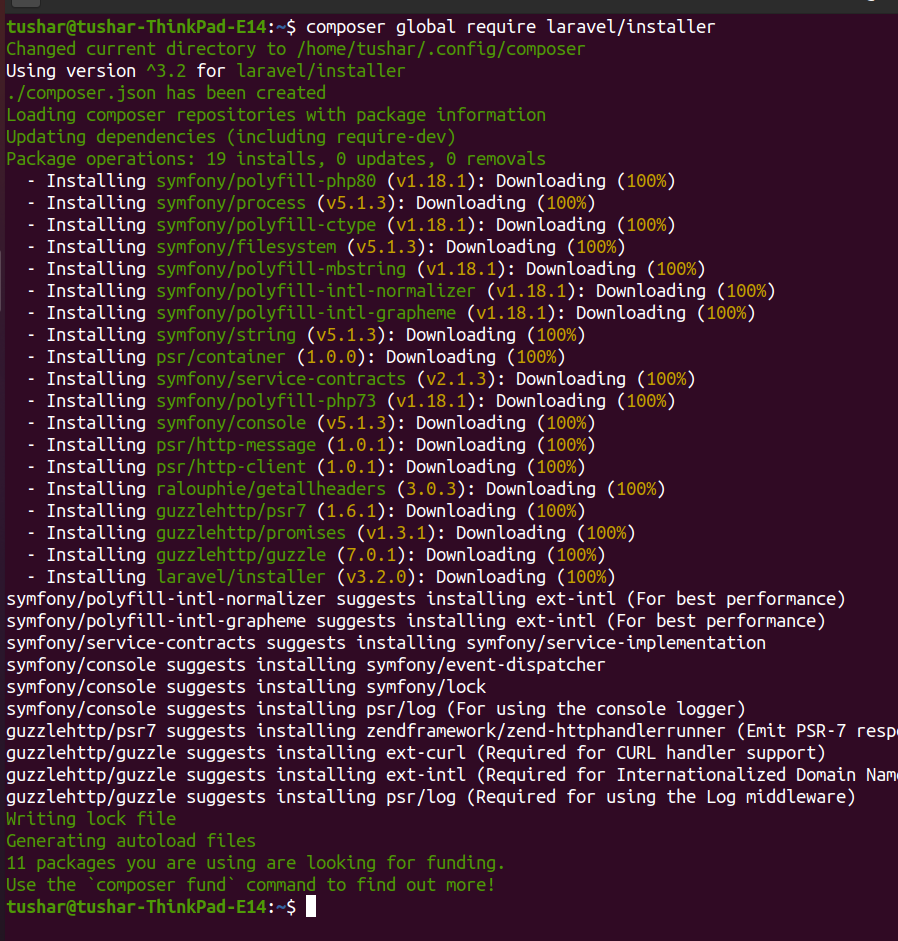
We now have the laravel installer installed as global dependency.
But in order to be able to run laravel command to generate the new project, we need to place Composer's system-wide vendor bin directory in your $PATH so the laravel executable can be located by your system.
Execute the following commands
export PATH="$PATH:$HOME/.config/composer/vendor/bin" >> ~/.bashrc
source ~/.bashrc
Let's move on to the next step.
# 5. Install MySQL
Although MySQL is not a requirement for Laravel. Its most likely you would want your new laravel project to connect to a mysql database and for that we'll neeed a mysql server running on the local ubuntu machine
Follow along the steps to Install MySQL on your machine
Run the following command to install mysql server and php mysql connector
sudo apt-get install mysql-server php7.3-mysqlOnce you have mysql installed, Its time to configure the security options for mysql. Run the following command
sudo mysql_secure_installationThis will take you through a series of prompts where you can make some changes to your MySQL installation’s security options.
To be able to connect to MySQL to a client (like PhpMyAdmin), we need to be able to connect to mysql without sudo privileges. Execute following commands
sudo mysql -u root -p Enter your password once prompted, It will login you into mysql console
Execute the following queries
mysql> ALTER USER 'root'@'localhost' IDENTIFIED WITH mysql_native_password BY 'password';Be sure to change the password to your mysql password
mysql> FLUSH PRIVILEGES; exit; out of mysql prompt and try logging in again without sudo privilage.
# 6. Laravel New Project
Since we have installed all the required dependencies we can now go ahead and create a new Laravel project.
Run the following command in the directory where you are looking to create new project
laravel new blog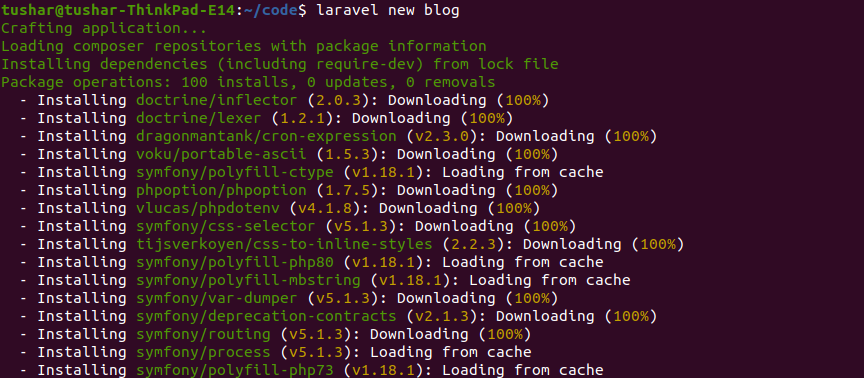
This command will download all the required dependencies and will create a fresh Laravel project for you.
To run the project in your browser all you have to do is run the serve command in the project root directory
php artisan serve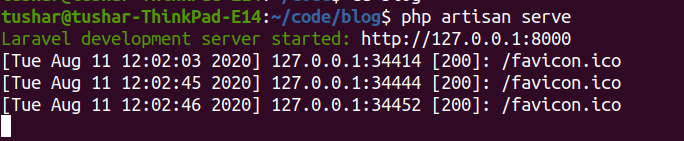
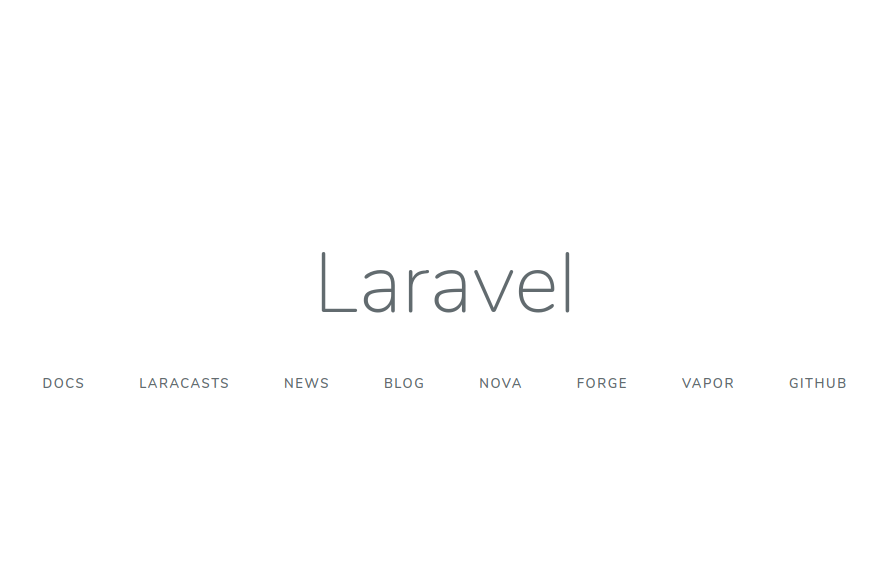
serve command will run the project on localhost , open the web browser and navigate to localhost:8000, you should see the following page.
# 7. Connecting Project to Database
To connect the new project to database, create a new blank mysql database. Open up the .env file and change the following properties as per the database name and credentilas
DB_DATABASE=blog
DB_USERNAME=root
DB_PASSWORD=password
Run the following command to check the connection and migrate the default tables.
php artisan migrateYou can read the detailed tutorial on How to connect to laravel project to mysql database
That's all about Installing Laravel on Ubuntu along with the required dependencies like PHP, Composer and MySQL.
Have fun with Laravel.