In this article let's go over how we can install TailwindCSS on an HTML project. The simplest and fastest way to get up and running with Tailwind CSS from scratch is with the Tailwind CLI tool.
1. Install TailwindCSS
Make sure you have Node and NPM installed in your system. Navigate to the project directory and run the following command to install tailwindcss.
npm install -D tailwindcss
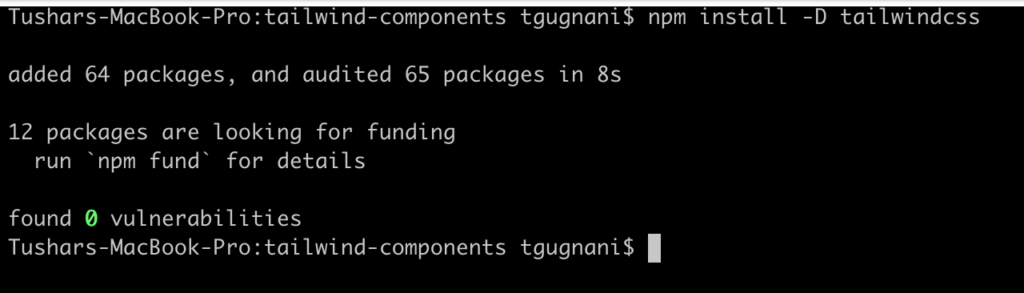
If you don't already have any npm dependency, this will generate a create a new
package.json file in your project along with the latest version of tailwindcss as the dependency.
{
  "devDependencies": {
    "tailwindcss": "^3.1.3"
  }
}
Next up, run the following command to generate
tailwind.config.js file.
npx tailwindcss init

2. Configure Content Paths
Tailwind only generates those styles in the output CSS file which we have used in our view files. Thus Tailwind needs to know which all files to look before generating the output CSS file.
Add the paths to all of your template files in your
tailwind.config.js file.
module.exports = {
  content: ["./src/**/*.{html,js}"],
  theme: {
    extend: {},
  },
  plugins: [],
}
You must include the location of all the files along with the possible extensions where you could have the tailwind utility classes.
If you are planning to keep your html files in the root folder of your project you'll include the following path in your content array
content: ["./*.{html,js}"],
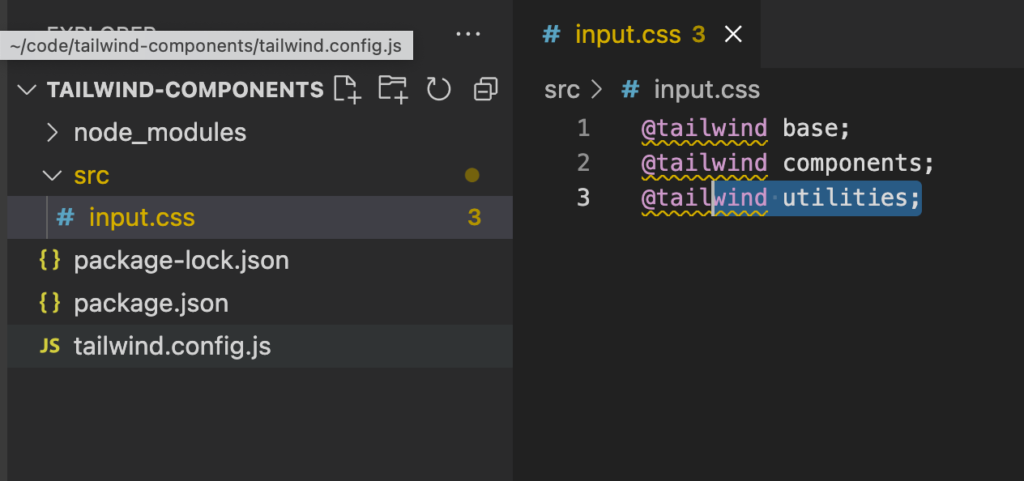
3. Create TailwindCSS Input File
Create a new folder named
src in your project and create a new file named
input.css in that folder.
Add the
@tailwind directives for each of Tailwind’s layers to your main CSS file.
@tailwind base;
@tailwind components;
@tailwind utilities;
4. Start the Tailwind Build Process
Run the CLI tool command, this will scan all your template files and will generate a output css file which contains all the necessary classes for styling.
npx tailwindcss -i ./src/input.css -o ./dist/output.css --watch

This will generate a new file named
output.css in the
dist directory of your project.
5. Start using TailwindCSS in your project.
Now since we have the tailwindcss file ready (output.css). We can now include it in our HTML page and start building some cool stuff.
I have the following content in my index.html file located at the root folder of my project.
<!DOCTYPE html>
<html lang="en">
<head>
    <meta charset="UTF-8">
    <meta http-equiv="X-UA-Compatible" content="IE=edge">
    <meta name="viewport" content="width=device-width, initial-scale=1.0">
    <link href="/dist/output.css" rel="stylesheet">
    <title>Document</title>
</head>
<body>
    <h1 class="text-3xl text-purple-600 font-bold underline text-center m-2">
        Welcome to TailwindCSS
      </h1>
</body>
</html>
The output of this should look like below which denotes that your TailwindCSS styles are working.