In this tutorial we will go over the demonstration of Form Submission with Validation in Laravel.
This tutorial specifically looks into the Form Submission and Insert into the database aspect. If instead you are looking to implement the full CRUD operations (Create, Read, Update, Delete) I suggest you to look into the Tutorial -> Simple CRUD Operations in Laravel
Before starting on to this tutorial make sure you have a Laravel Setup Ready and you have connected it to a Database. You can take help from below tutorials for the setup to get started.
We are creating a Form to insert products into the database. You can use this example for any of your Form Submission with Validation in Laravel.
Once you are ready with the setup, Let's dive into the steps.
Create Model, Controller and a Migration File.
Let's start with Creating a Model, Controller and a Migration File for our Form Submission Example. Go to Terminal (Command Line) and Navigate to your project root directory.
Run following artisan command.
php artisan make:model Product -c -m

This artisan command will generate a Model file
Product.php and since we have appended the command with additional parameters it will also generate a Controller
ProductController.php and a migration file
create_products_table.php
Here is how the File Looks
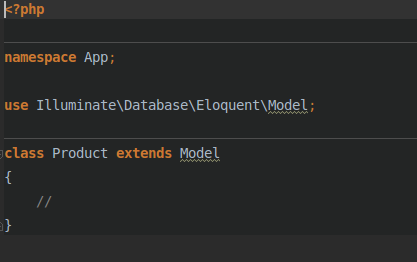
Product.php will be generated under
app directory.
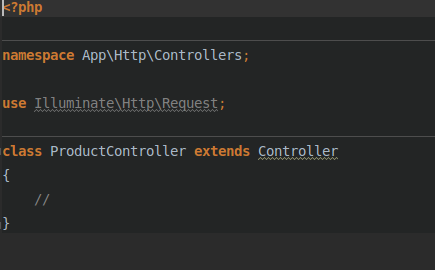
ProductController.php will be generated under
app >
Http >
Controllers directory
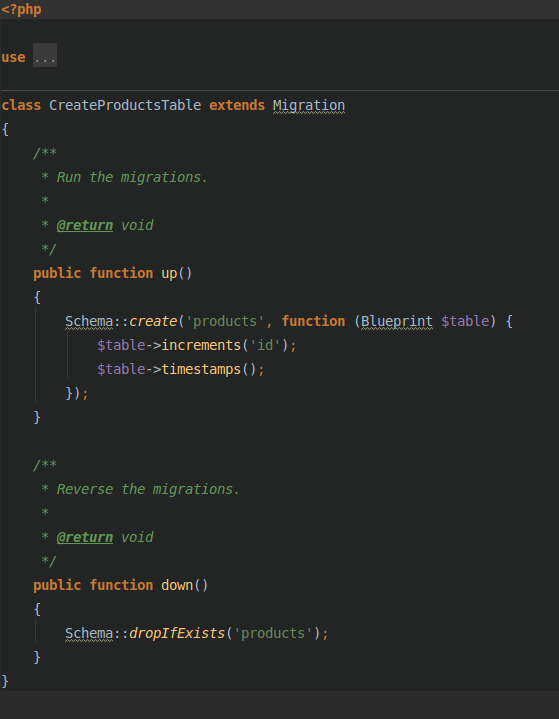
create_products_table.php migration file will be created under
database >
migrations folder.
Generate Database Table
As the next step, Let's update our migration file to include the additional fields to store the Product properties, we will use this migration file to generate a database table for our example project.
Open
create_products_table.php migration file and update the
up() function as given below to add additional product parameters.
    public function up()
    {
        Schema::create('products', function (Blueprint $table) {
            $table->increments('id');
            $table->string('name');
            $table->string('company');
            $table->longText('description');
            $table->float('amount');
            $table->boolean('available');
            $table->timestamps();
        });
    }
Now open your terminal, move to project root directory and run the following command to generate database tables form migration files.
php artisan migrate

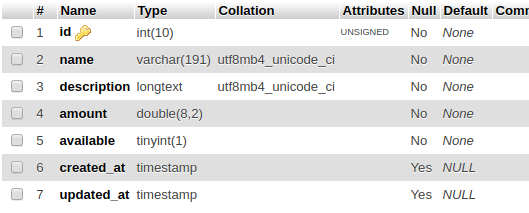
This will generate
products table in the database along with the other default tables provided by Laravel.
Here is how the generated products table structure looks
Create Product Blade Page, Route and Controller Method.
Next, Let's write code to serve a Create New Product form page to the User. This will require a route entry , a corresponding Controller Method and a View file that will be returned by the Controller. Let's do it one by one.
Open your
web.php route file located under routes folder and add following entry into the file.
Route::get('/products/create', 'ProductController@create');
As you can see the route goes out to call the
create method of the
ProductController, Let's go ahead and add a create method to our ProductsController file
    /**
     * Show the form for creating a new product.
     *
     * @return \Illuminate\Http\Response
     */
    public function create()
    {
        return view('products.create');
    }
This method returns create view under the products directory, Let's go ahead and create that. Create a new file
create.blade.php under
resources >
views >
products and add following contents to create a HTML form.
@extends('layout.layout')

@section('content')
    <h1>Add New Product</h1>
    <hr>
    <form action="/products" method="post">
        {{ csrf_field() }}
        <div class="form-group">
            <label for="title">Product Name</label>
            <input type="text" class="form-control" id="productName"  name="name">
        </div>
        <div class="form-group">
            <label for="description">Product Company</label>
            <select class="form-control" name="company">
                <option>Apple</option>
                <option>Google</option>
                <option>Mi</option>
                <option>Samsung</option>
            </select>
        </div>
        <div class="form-group">
            <label for="description">Product Amount</label>
            <input type="text" class="form-control" id="productAmount" name="amount"/>
        </div>
        <div class="form-group">
            <label for="description">Product Available</label><br/>
            <label class="radio-inline"><input type="radio" name="available" value="1"> Yes</label>
            <label class="radio-inline"><input type="radio" name="available" value="0"> No</label>
        </div>
        <div class="form-group">
            <label for="description">Product Description</label>
            <textarea type="text" class="form-control" id="productDescription" name="description"></textarea>
        </div>
        @if ($errors->any())
            <div class="alert alert-danger">
                <ul>
                    @foreach ($errors->all() as $error)
                        <li>{{ $error }}</li>
                    @endforeach
                </ul>
            </div>
        @endif
        <button type="submit" class="btn btn-primary">Submit</button>
    </form>
@endsection
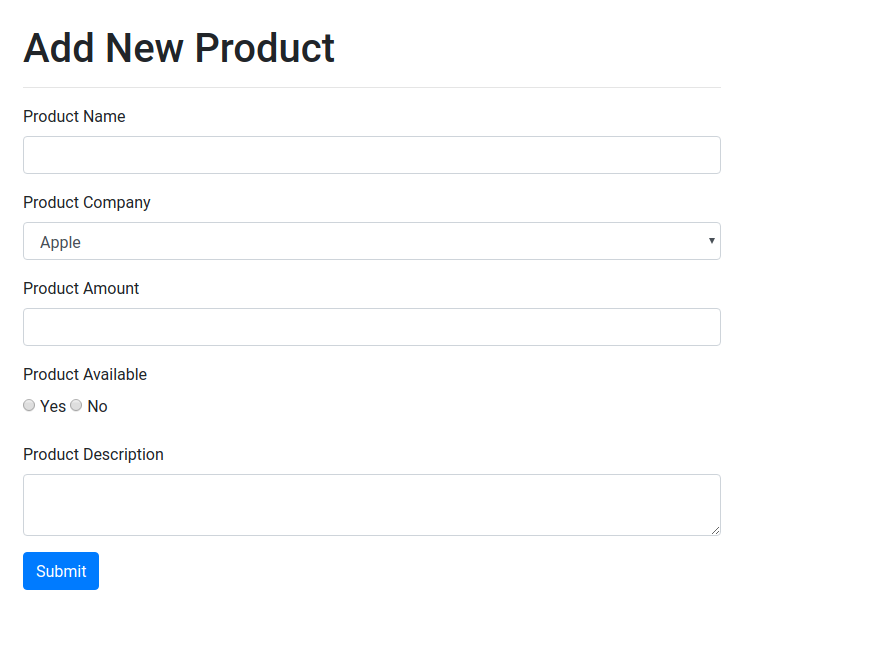
Once you have completed these steps, navigate to
/products/create url of your project. You should be able to see a Create products form in your application.
Validate Data and Store in Database
Good job for making it till Here !
Now we are all set to Validate the data and store it in the database. Validation and Storing in Database is made very very simple in Laravel. With
validate method all the the form data can be validated within a single function call. And with
create method of eloquent. data will be stored in database with a single function call.
Let's see how.
    /**
     * Store a newly created product in storage.
     *
     * @param  \Illuminate\Http\Request  $request
     * @return \Illuminate\Http\Response
     */
    public function store(Request $request)
    {

        $validatedData = $request->validate([
            'name' => 'required|unique:products',
            'amount' => 'required|numeric',
            'company' => 'required',
            'available' => 'required',
            'description' => 'required',
        ]);

        Product::create($request->all());

        return redirect('/products');

    }
Add the store method in your
ProductController.php file, the validate method on
$request object will validate the data according to the parameters passed.
We have passed
$request->all() parameter to
create method. This will map the form parameters to Model fields and will insert into it into the database. Sweet isn't it?
But this won't work just yet. Since there is a possibility of someone putting malicious data into the database, Laravel does not allow mass assignment into the database fields. We have to modify our Model file
Product.php to let laravel know that we allow mass assignment to all the fields.
Open
Product.php file located under app directory.
<?php

namespace App;

use Illuminate\Database\Eloquent\Model;

class Product extends Model
{
    protected $guarded = [];
}
We also need to add a route file entry for the store method. Add the following entry into your
web.php route file.
Route::post('/products', 'ProductController@store');
Show All Products
As a bonus, Let's create a index page, where we will show all the products.
Open your web.php route file and add following entry for the index page.
Route::get('/products', 'ProductController@index');
Add the corresponding index method to ProductController
    /**
     * Display a listing of the prducts.
     *
     * @return \Illuminate\Http\Response
     */
    public function index()
    {
        $products = Product::all();
        return view('products.index',compact('products',$products));
    }
We make use of Eloquent
all() method to get all the products in the database. Further we make use of
compact method to pass the products object to index page.
Create a new page
index.blade.php and put following contents into the file.
@extends('layout.layout')

@section('content')
    @if (Session::has('message'))
        <div class="alert alert-info">{{ Session::get('message') }}</div>
    @endif
    <table class="table">
        <thead class="thead-dark">
        <tr>
            <th scope="col">#</th>
            <th scope="col">Product Name</th>
            <th scope="col">Product Description</th>
            <th scope="col">Company</th>
            <th scope="col">Amount</th>
            <th scope="col">Available</th>
        </tr>
        </thead>
        <tbody>
        @foreach($products as $product)
            <tr>
                <th scope="row">{{$product->id}}</th>
                <td>{{$product->name}}</td>
                <td>{{$product->description}}</td>
                <td>{{$product->company}}</td>
                <td>{{$product->amount}}</td>
                <td>{{$product->available ? 'Yes' : 'No'}}</td>
            </tr>
        @endforeach
        </tbody>
    </table>
@endsection
Demo
[caption id="attachment_1531" align="aligncenter" width="600"]
Form Submission with Validation in Laravel[/caption]
Code Repo
Demo
I have used Bootstrap Template Layout integration in this project, You can
Integrate Bootstrap into your Laravel Application for similar User Interface.
If you found this tutorial helpful and if you have any questions, Let me know in comments. You might also find other related tutorials useful.